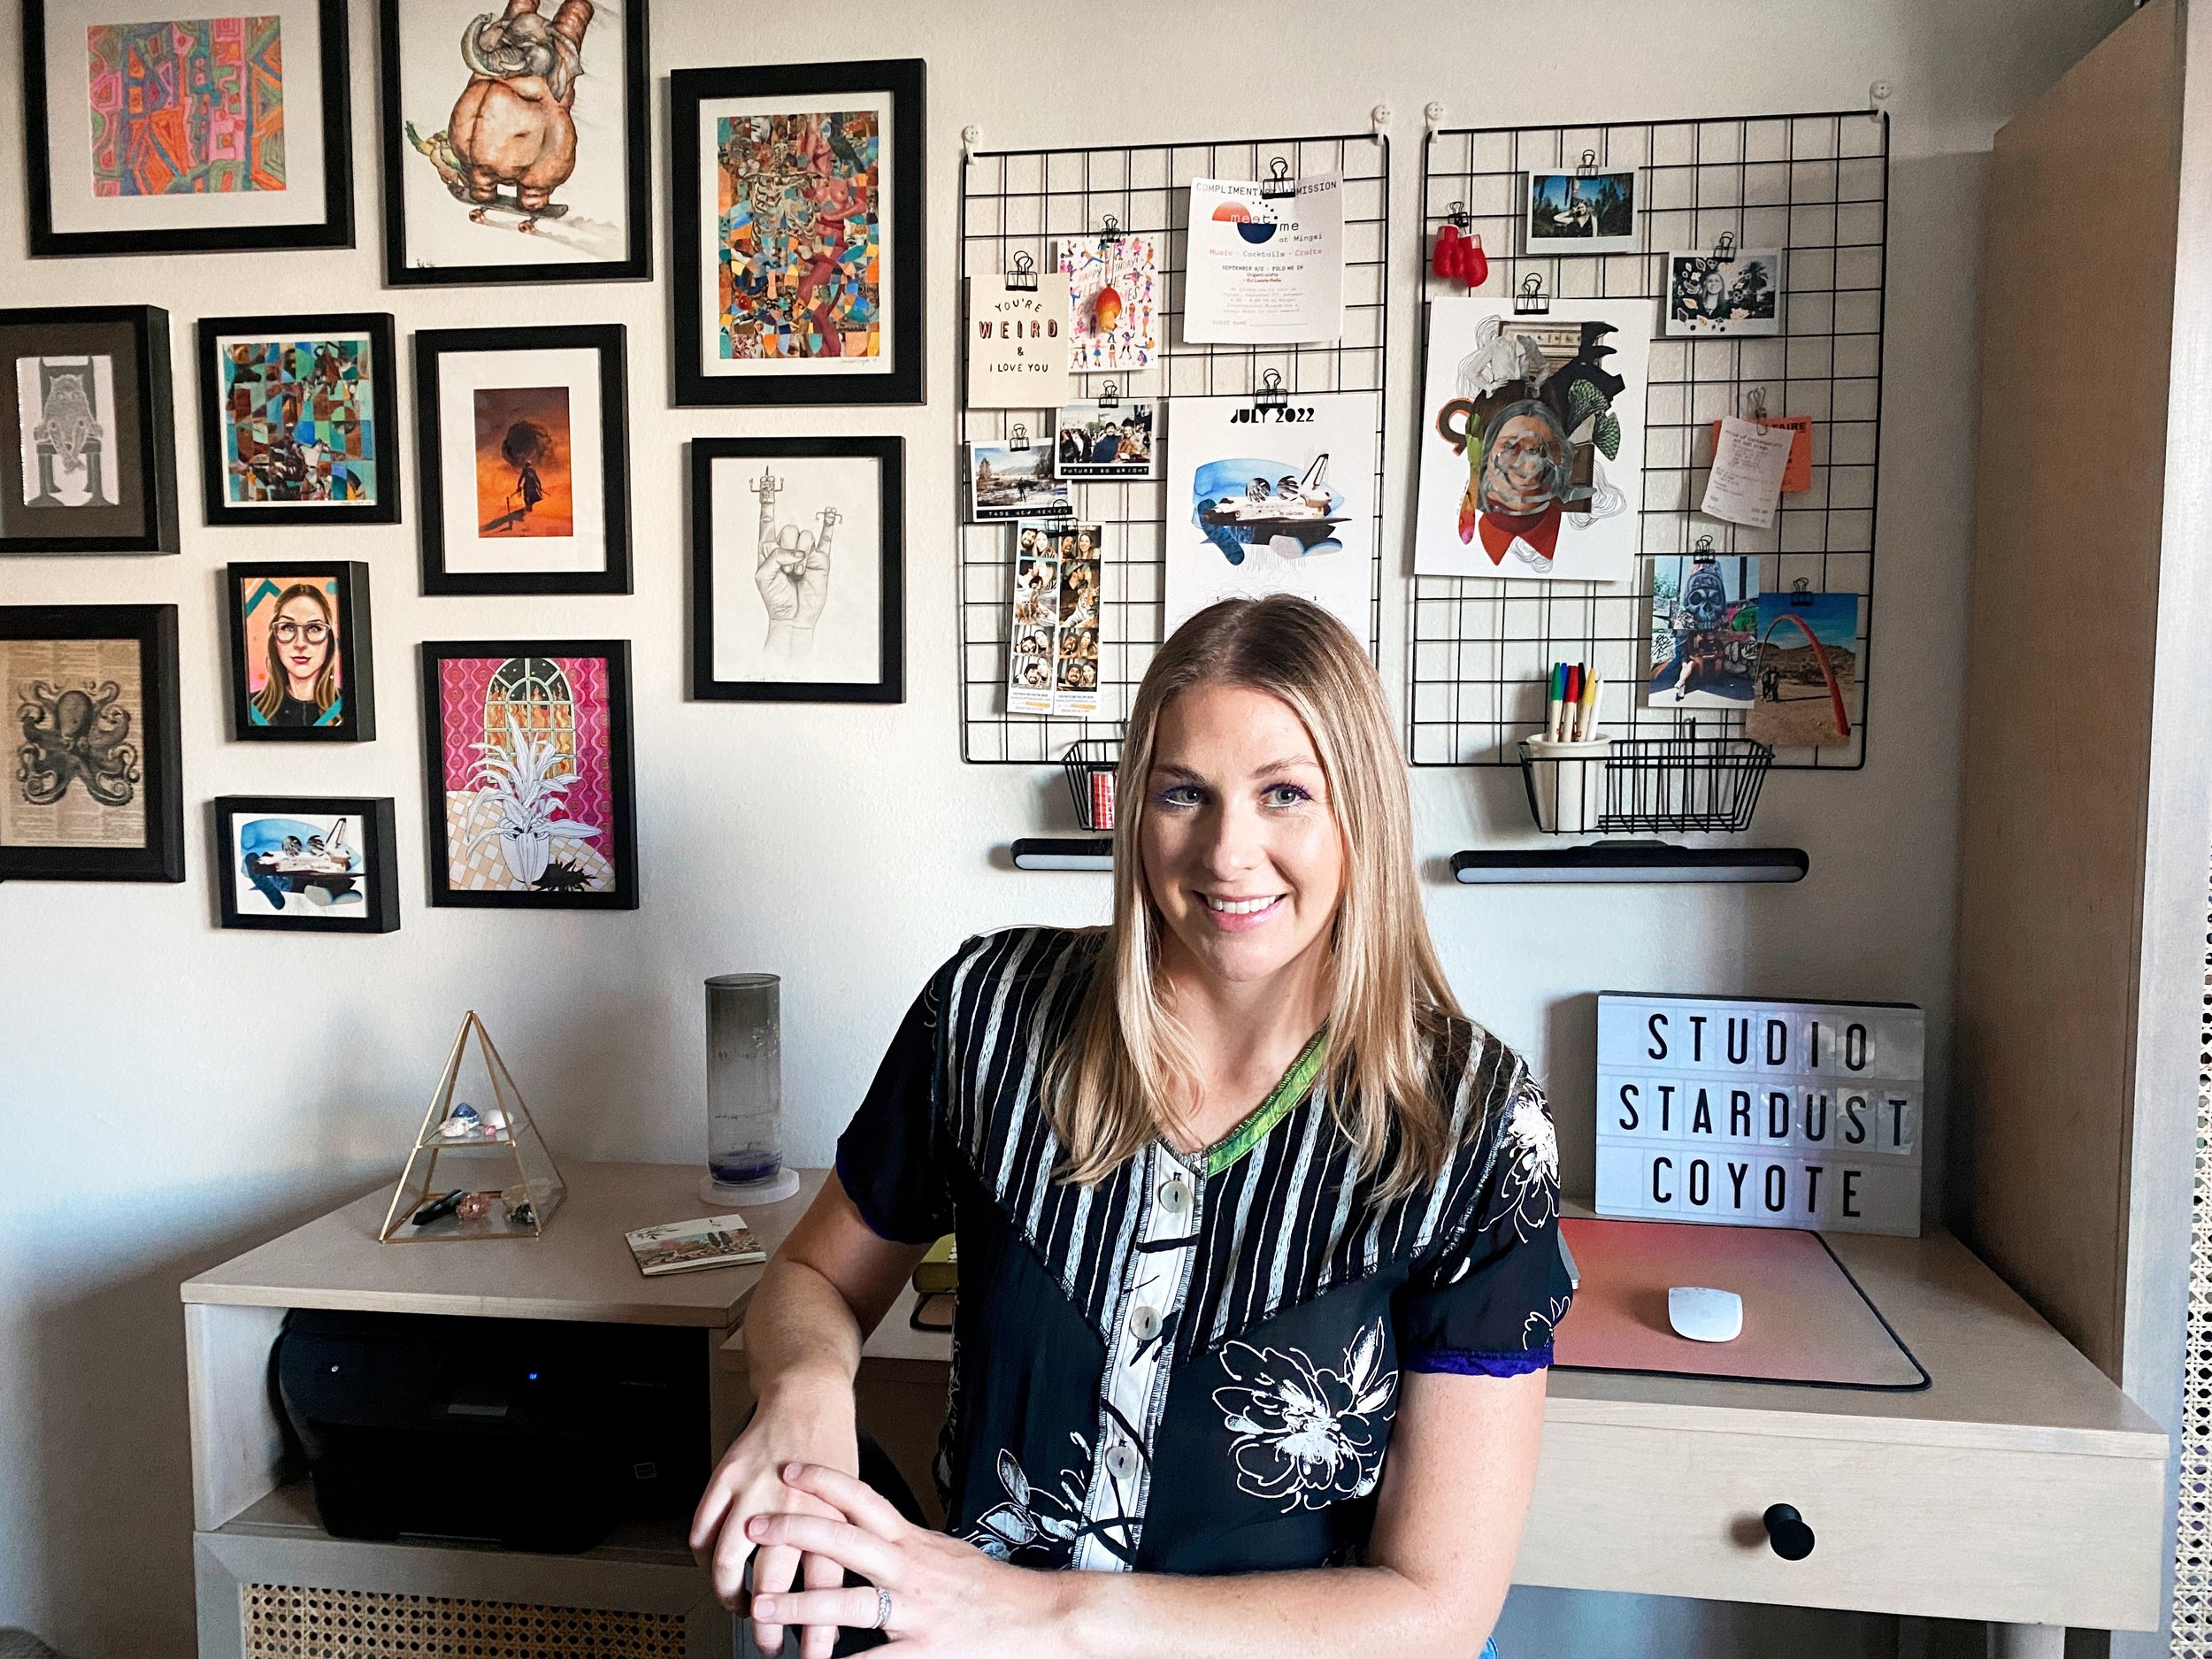
Studio Stardust Coyote✨

My studio project is finally complete and I am so excited to share it with you. It was quite the journey and I am pleased as punch with how it turned out.
Part 1 - The Vision
Two years ago I decided to build a coffee table after being unable to find something that fit my vibe, budget, and spacial constraints at a conventional furniture store. I built a pretty rad-looking coffee table and started to dream about other kinds of furniture I could create. I decided I wanted to make some furniture for my art studio or at least the corner of my living room that I call my “art studio”. My dad said he was down for another father-daughter project so I started to save up the scratch I needed to buy the building materials while he braced himself for the physical hardships ahead. I took to my computer to design some specs for the project, incorporating some custom features into each design.
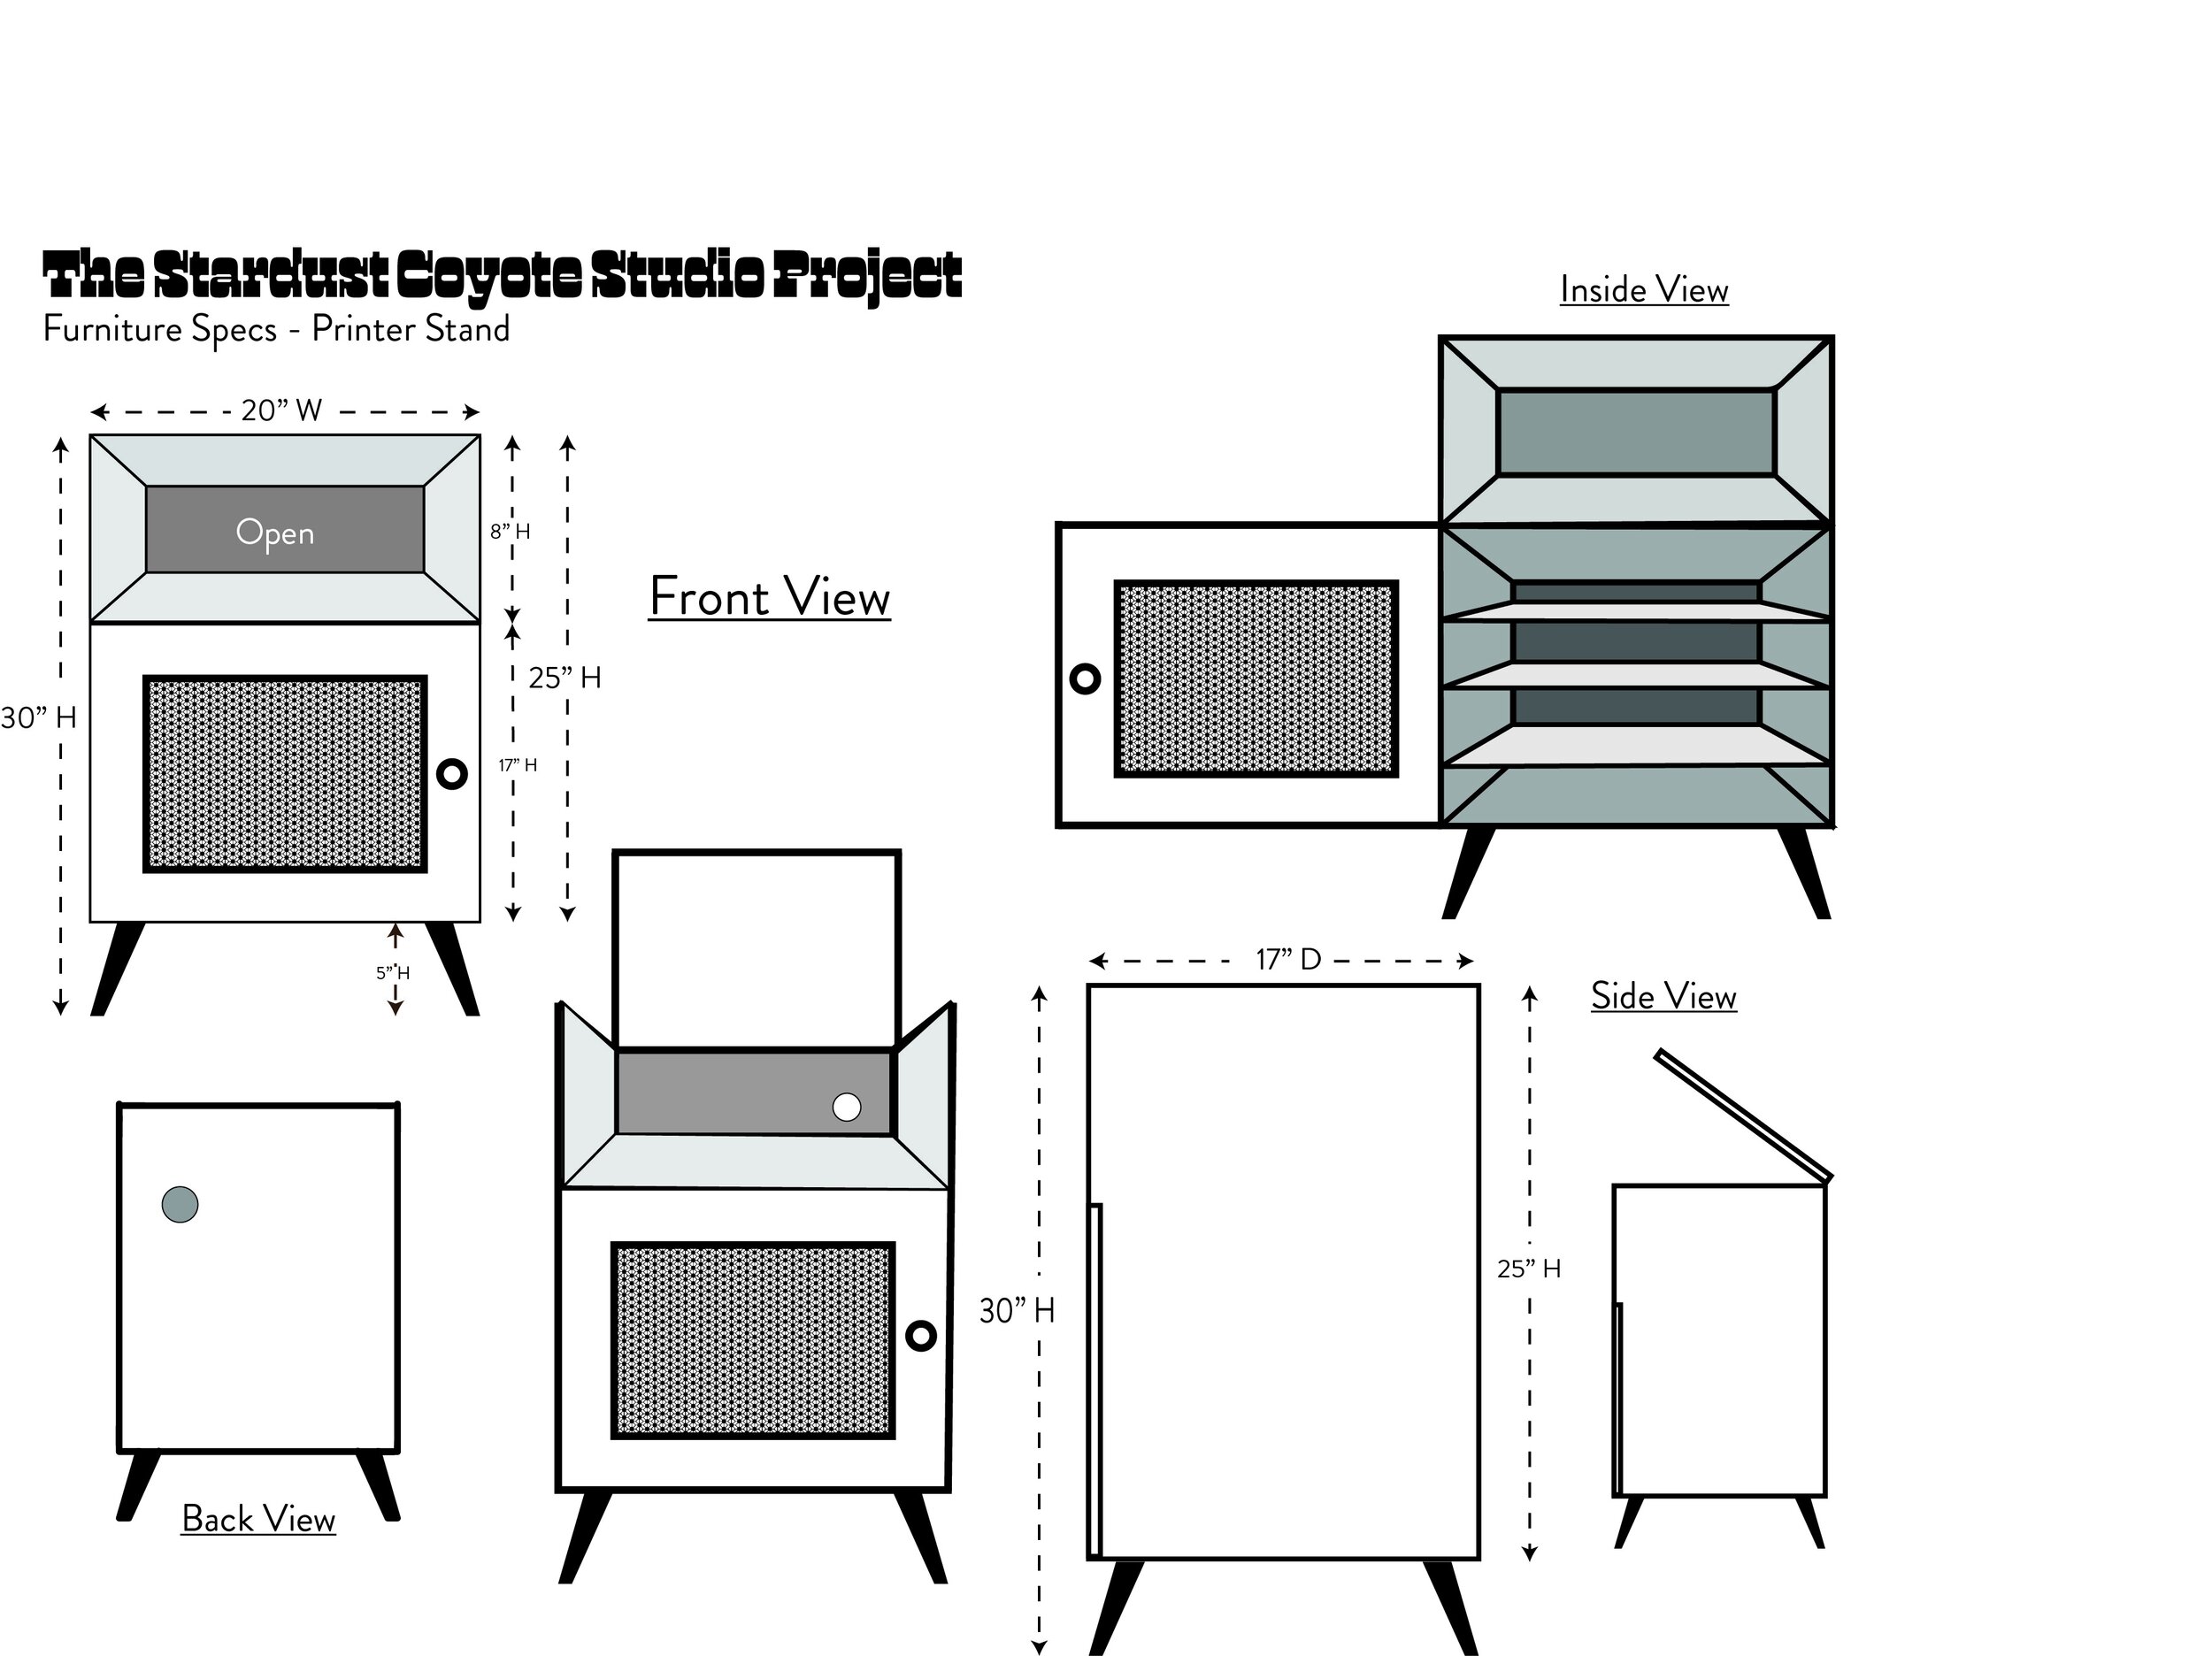
The first project I designed was a printer stand. I wanted to have an open area to house the printer that would be topped by a lid so that my cat couldn’t sit on the printer any more. I wanted the lid to able to open so that I could access the scanner or change the printer ink when needed. I wanted plenty of storage inside but for the storage to be covered with a door as I felt I had outgrown the open-concept storage I’d had for a while. I also knew that I wanted to incorporate wicker caning into my design. Later, I designed a cabinet and desk with similar special features to go with the printer stand’s aesthetic and have some great functionality.
Part 2 - The Construction
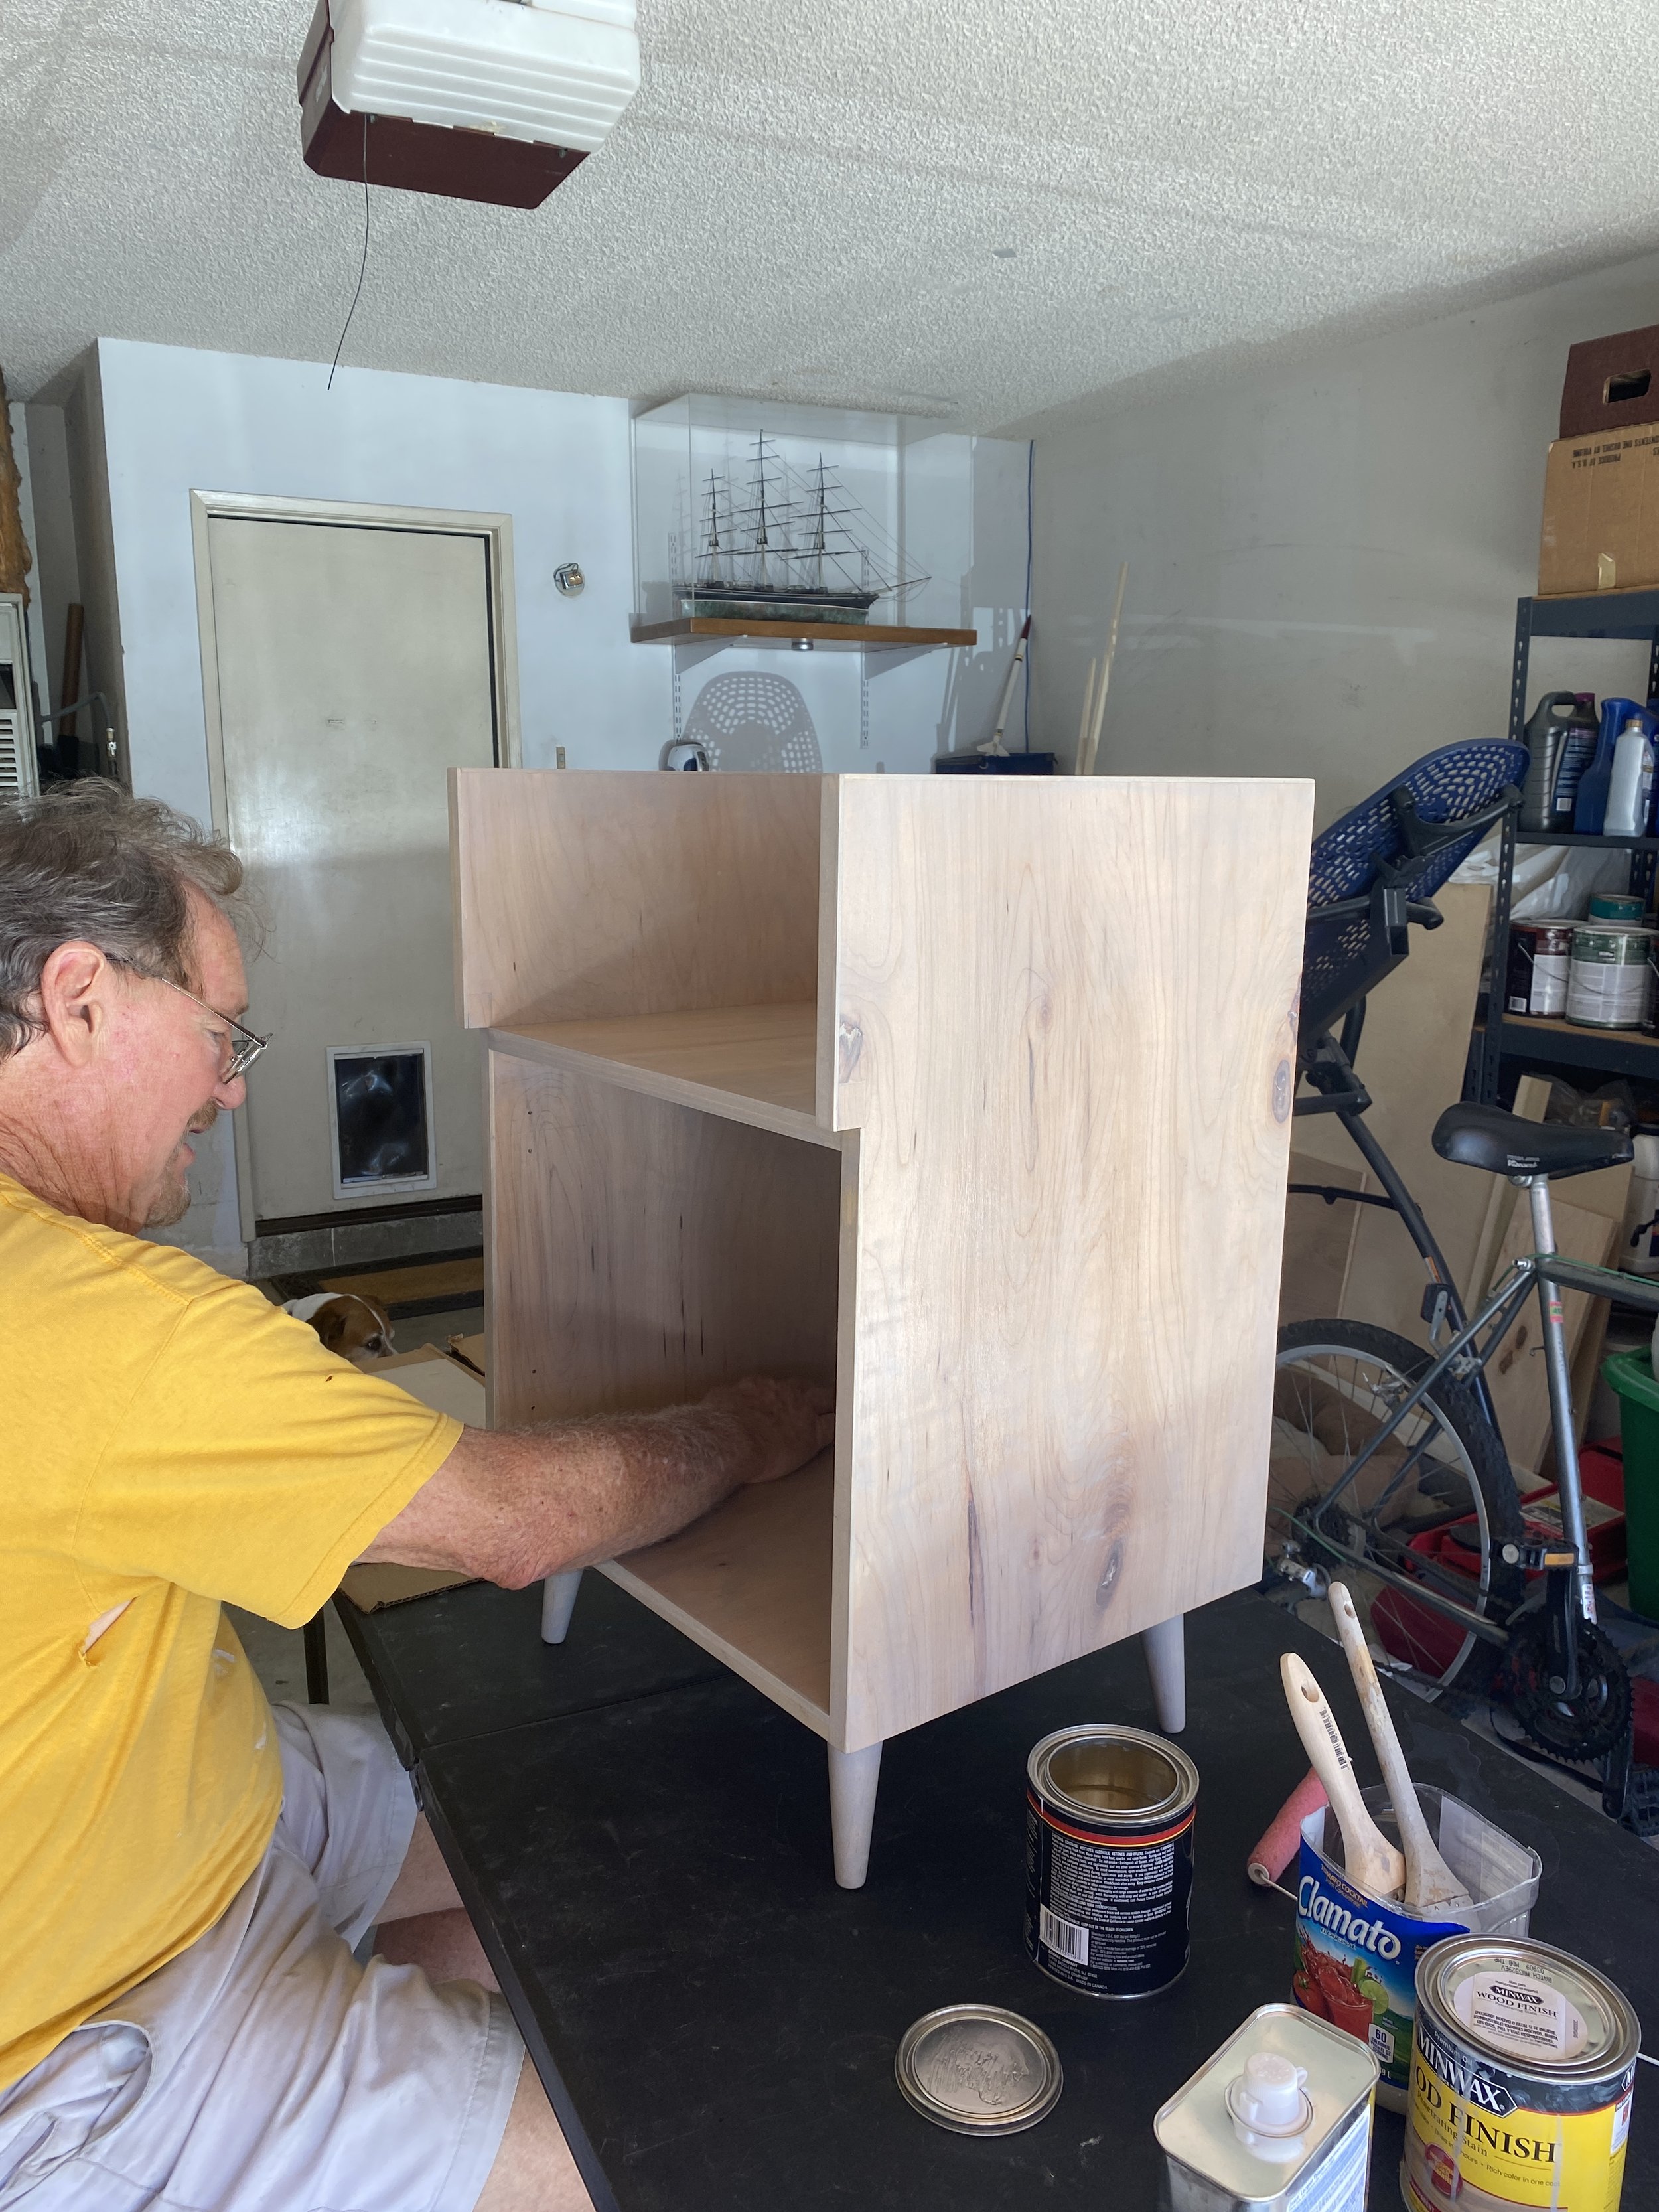
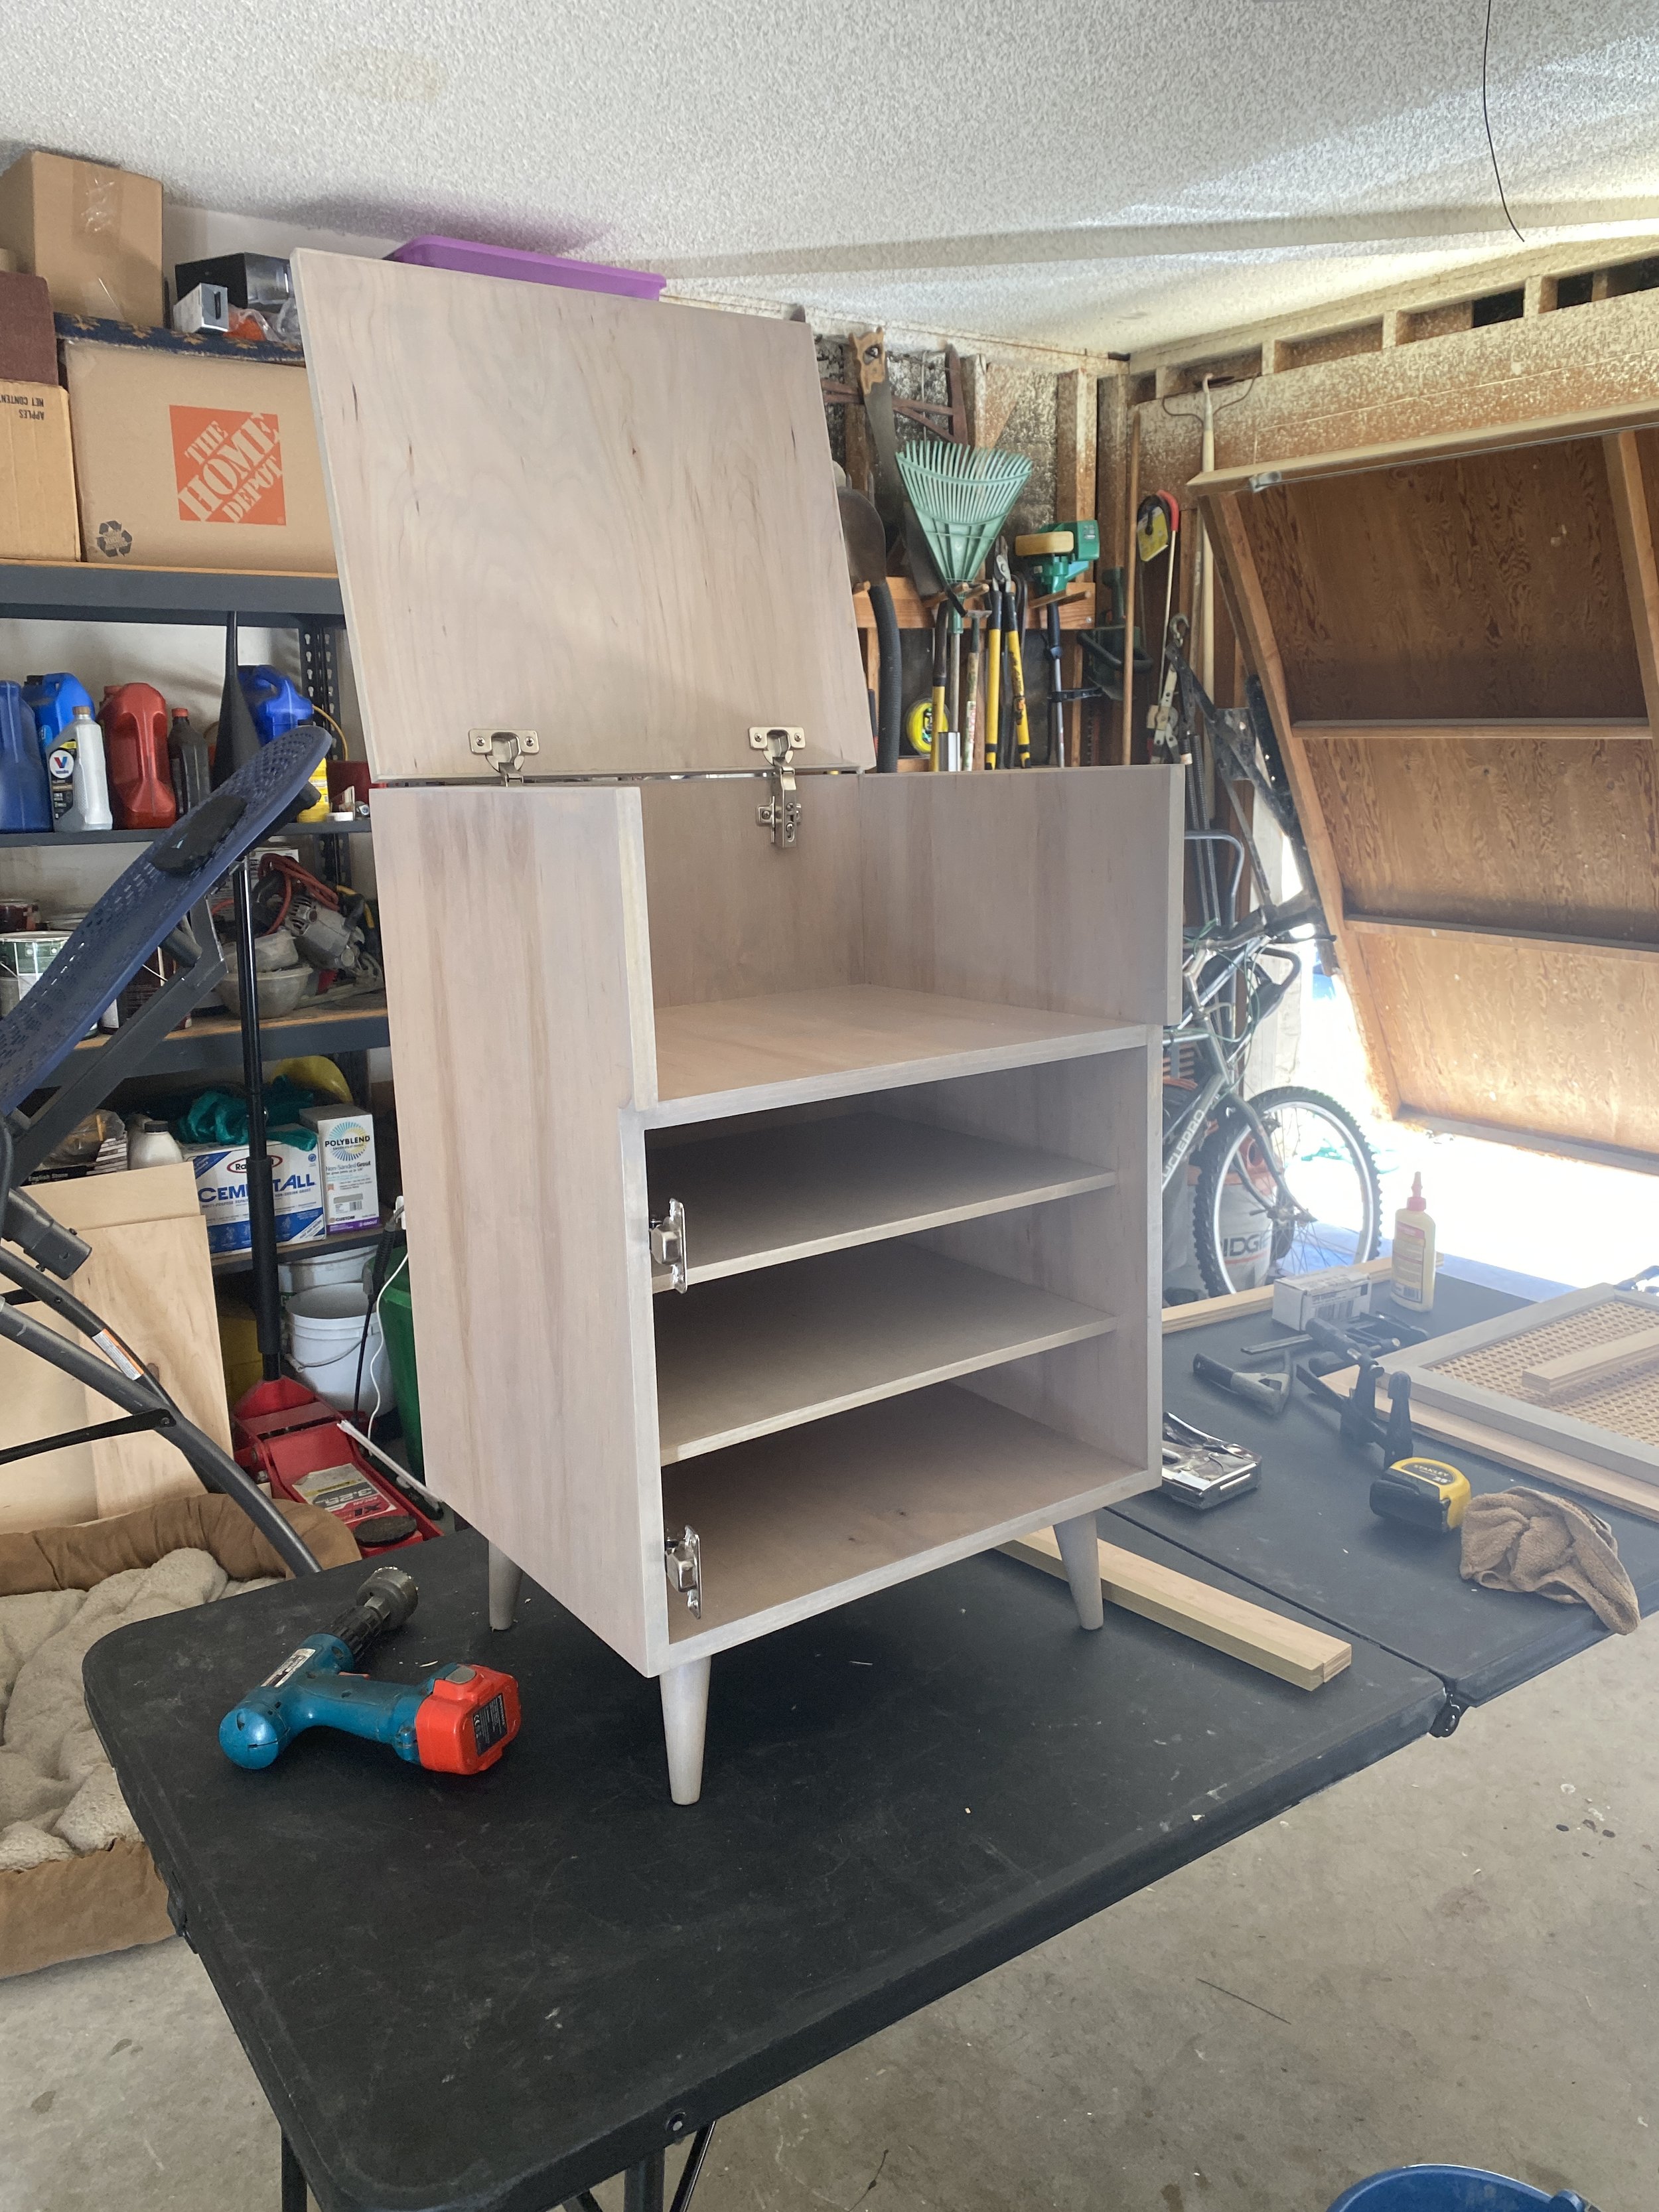
My father and I began the build in the late summer of last year. Even though the printer stand was the smallest of the three pieces I wanted to build, it ended up being the most complex. Some measurement errors (oops my b!) caused us to get creative with some solutions. We also experimented with cutting our own custom birch facing for the laminated plywood. While this gave a super clean look to the piece, it was too complicated for us to do for all of the other furniture. I decided to go with a semi-transparent blue-gray stain to highlight the unique texture and color of the birch laminated plywood. I’m delighted with how the printer stand turned out. My vision came to life, and we learned a lot while constructing this piece that we used to make the other pieces even easier to construct. We also used a more complicated method for installing the wicker on this cabinet that we simplified on the cabinet doors.
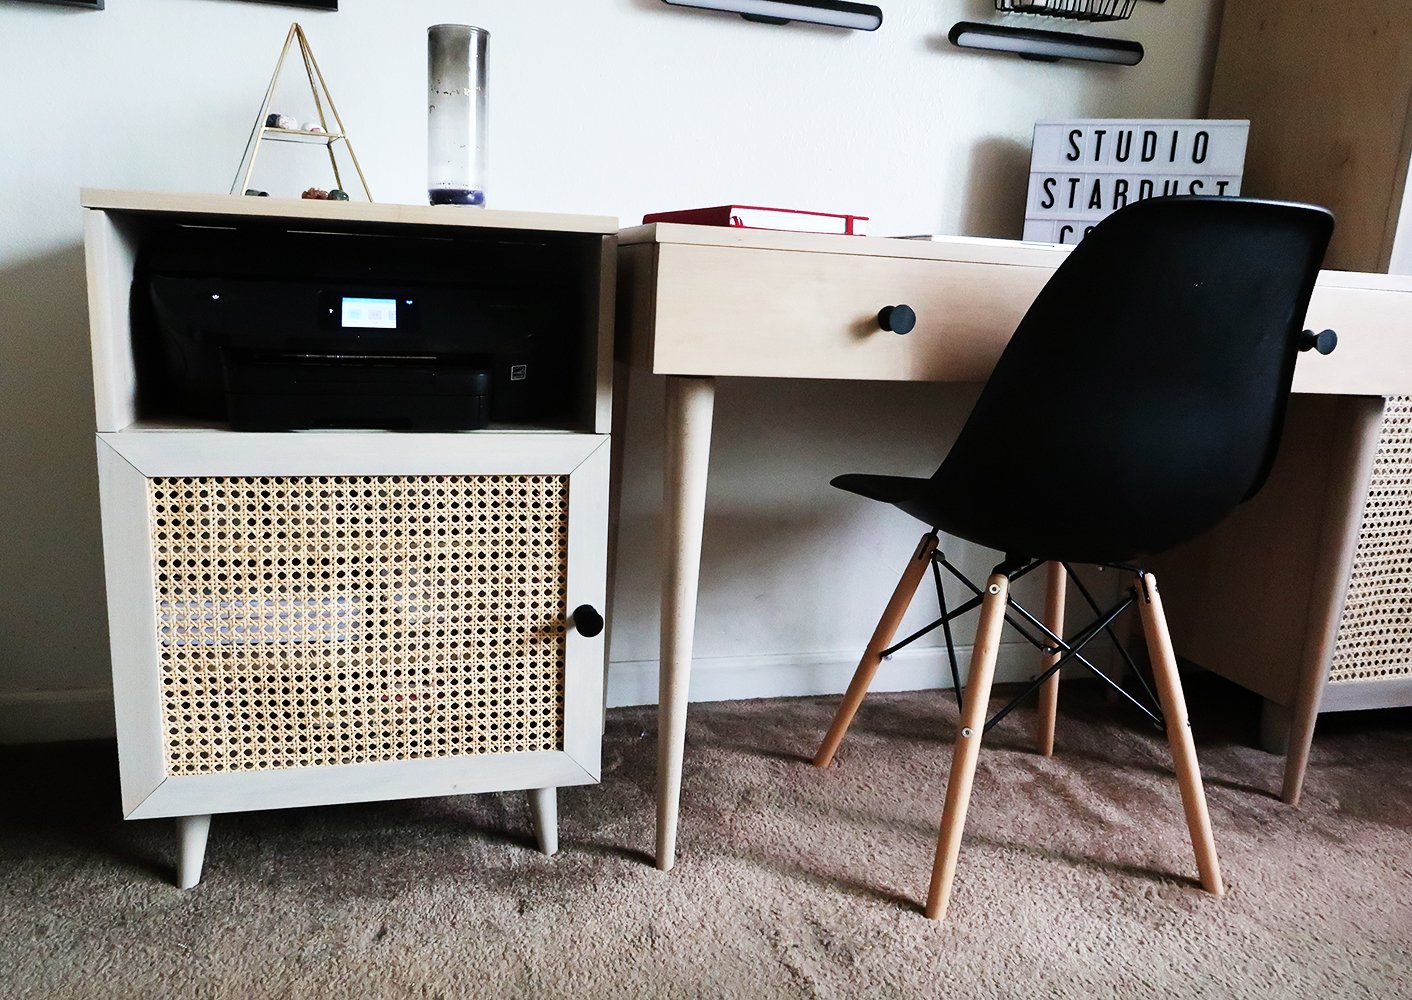
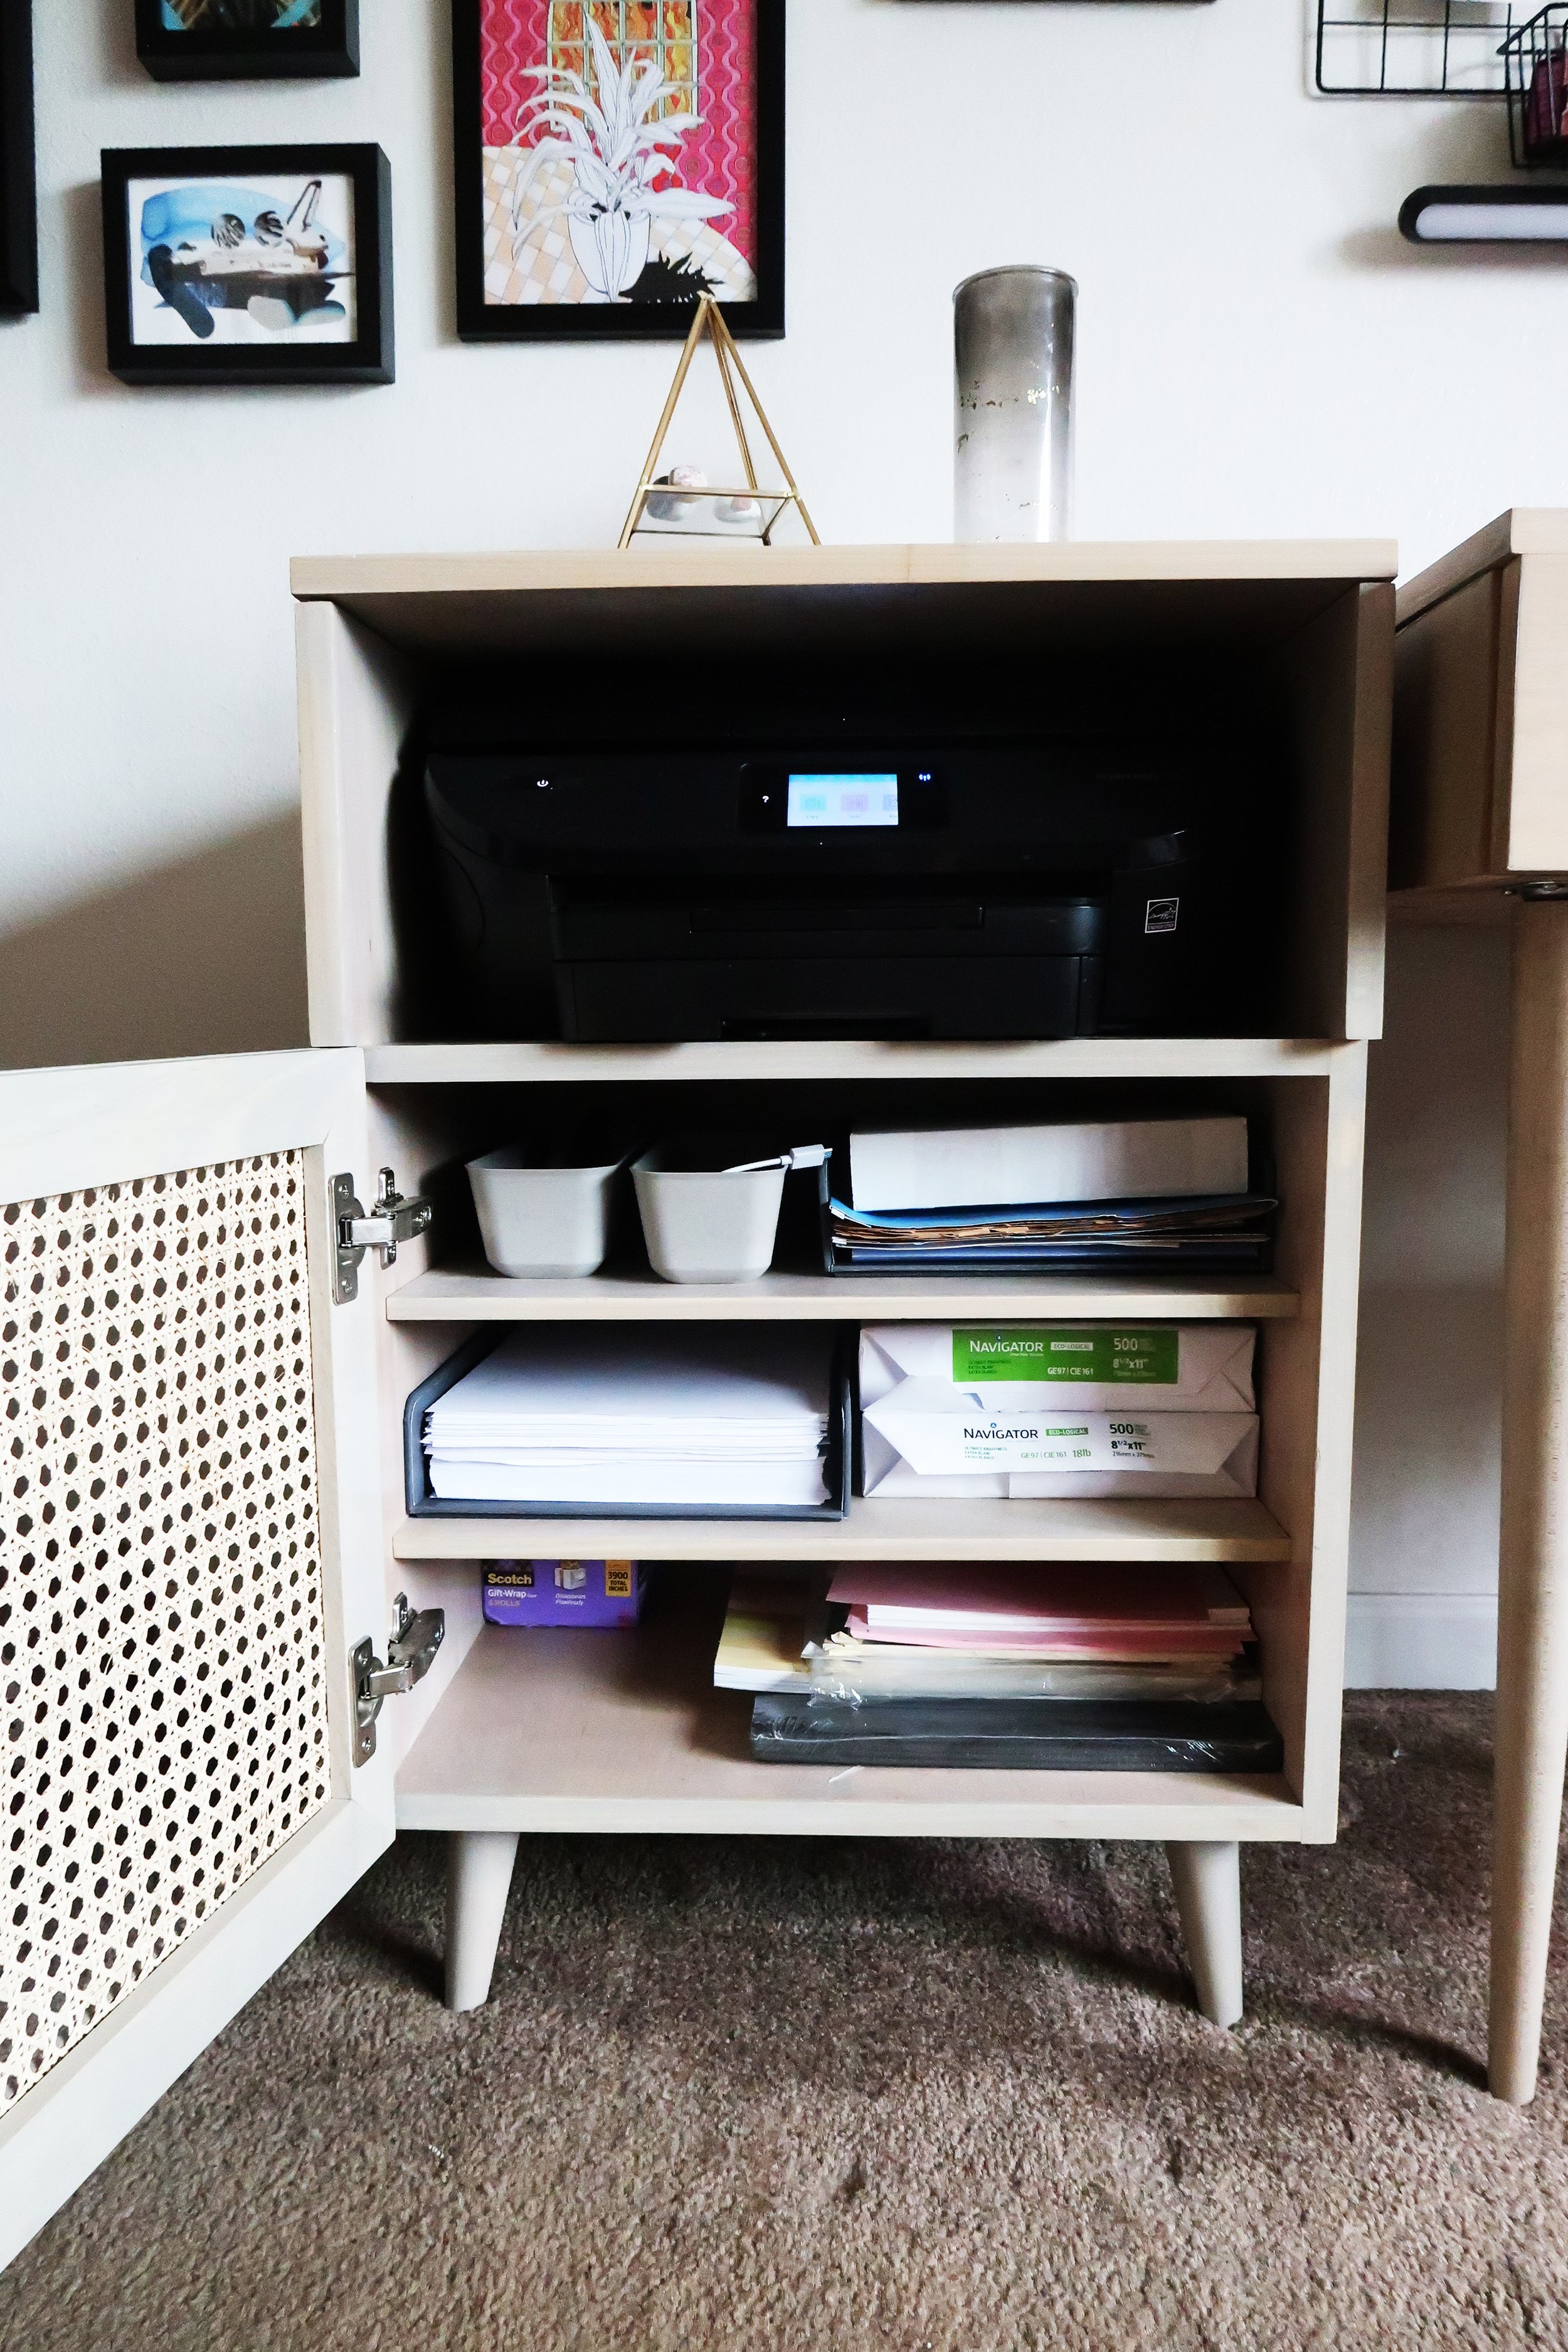
In the photos below you can see how much storage I have inside the cabinet as well as on top. I designed the printer stand to be 30 inches tall, the same height as the desk so I would have an extra workspace. I love how accessible the scanner is and how neat it all looks. It works well in our space.

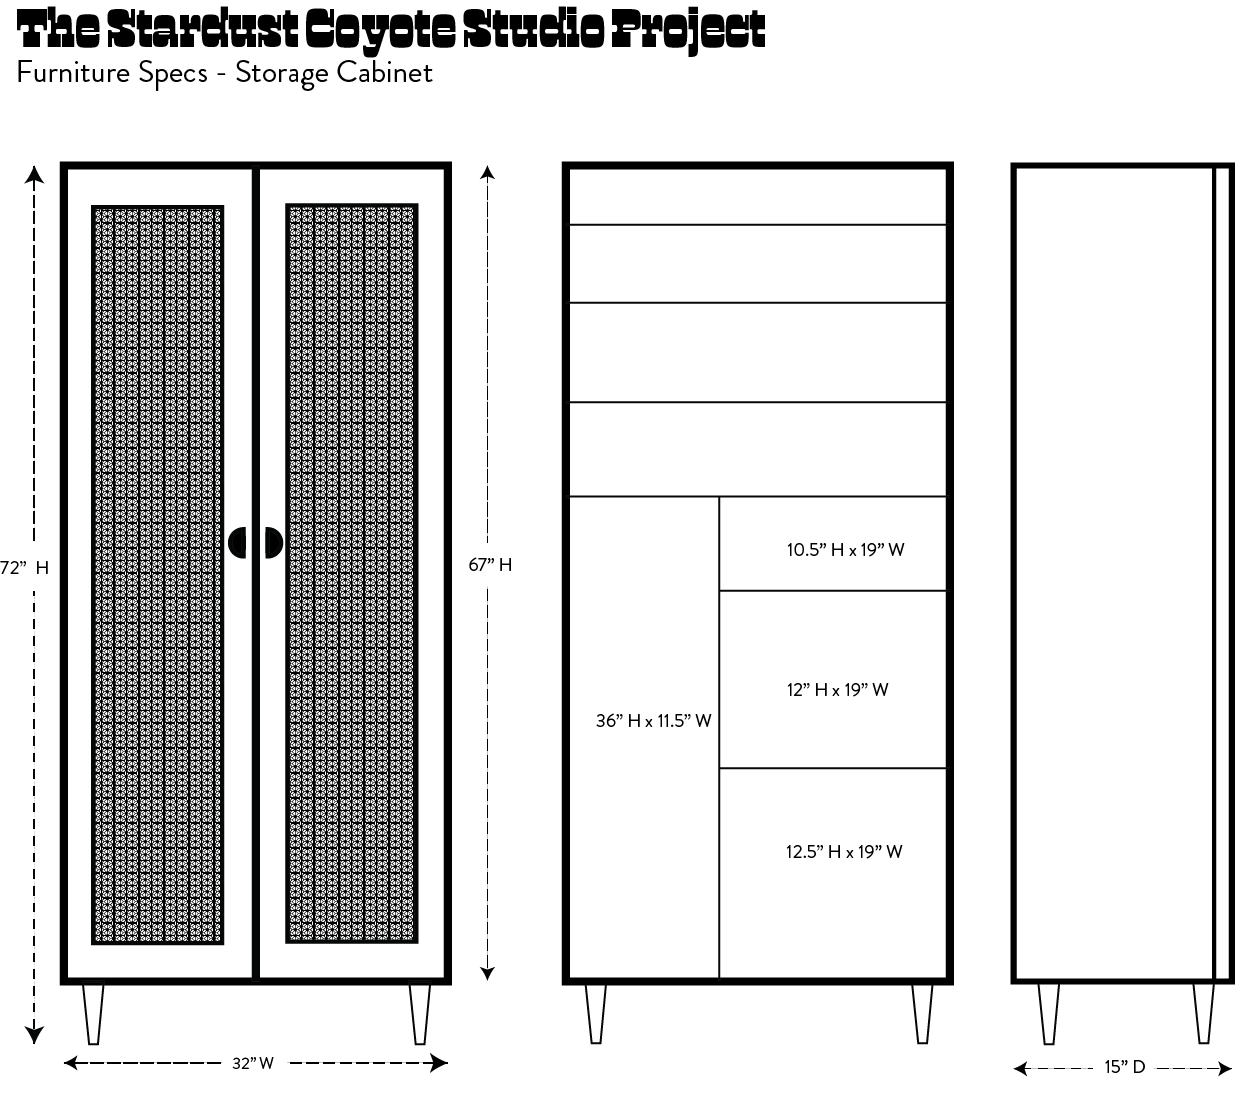
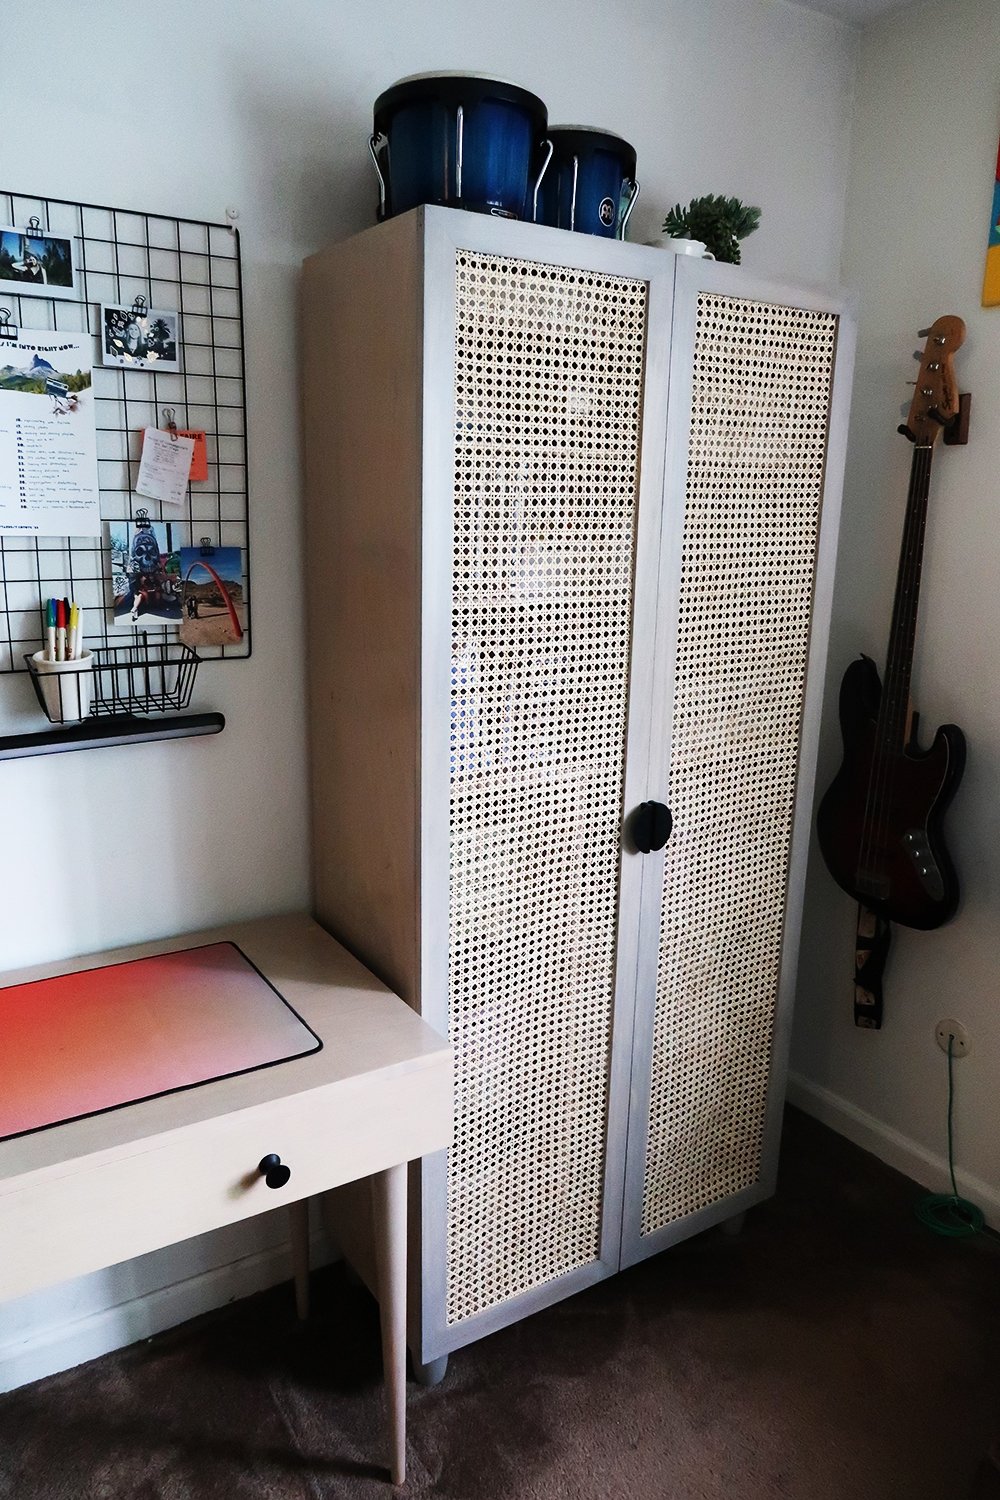
Next came the biggest piece of the bunch, the cabinet. This wasn’t as complicated of a build as the printer stand, but there were more parts and it was just a larger piece overall. I knew that I wanted it to be a bit wider and deeper than my current storage cabinet had been. In my design, I also incorporated custom shelf measurements to accommodate things like my sewing machine, projector, and Soul Collage cards. I wanted the cabinet doors to cover the chaos to give cleaner lines to our living space.
The cabinet took the longest to build and there were some hiccups with the design like ordering the wrong feet and a few miscuts of the wood. However, we were easily able to rectify these mistakes. We used an iron-on method of facing the plywood that was much quicker and more effective on this build. Finally, we added the wicker to the cabinet doors in a new way which took a bit of finesse. I learned that there’s really no easy way to install that wicker! I gave the whole cabinet a coat of the same stain from the printer stand and two coats of brush-on lacquer. Getting the cabinet organized was one of the most fun parts of the project for me.
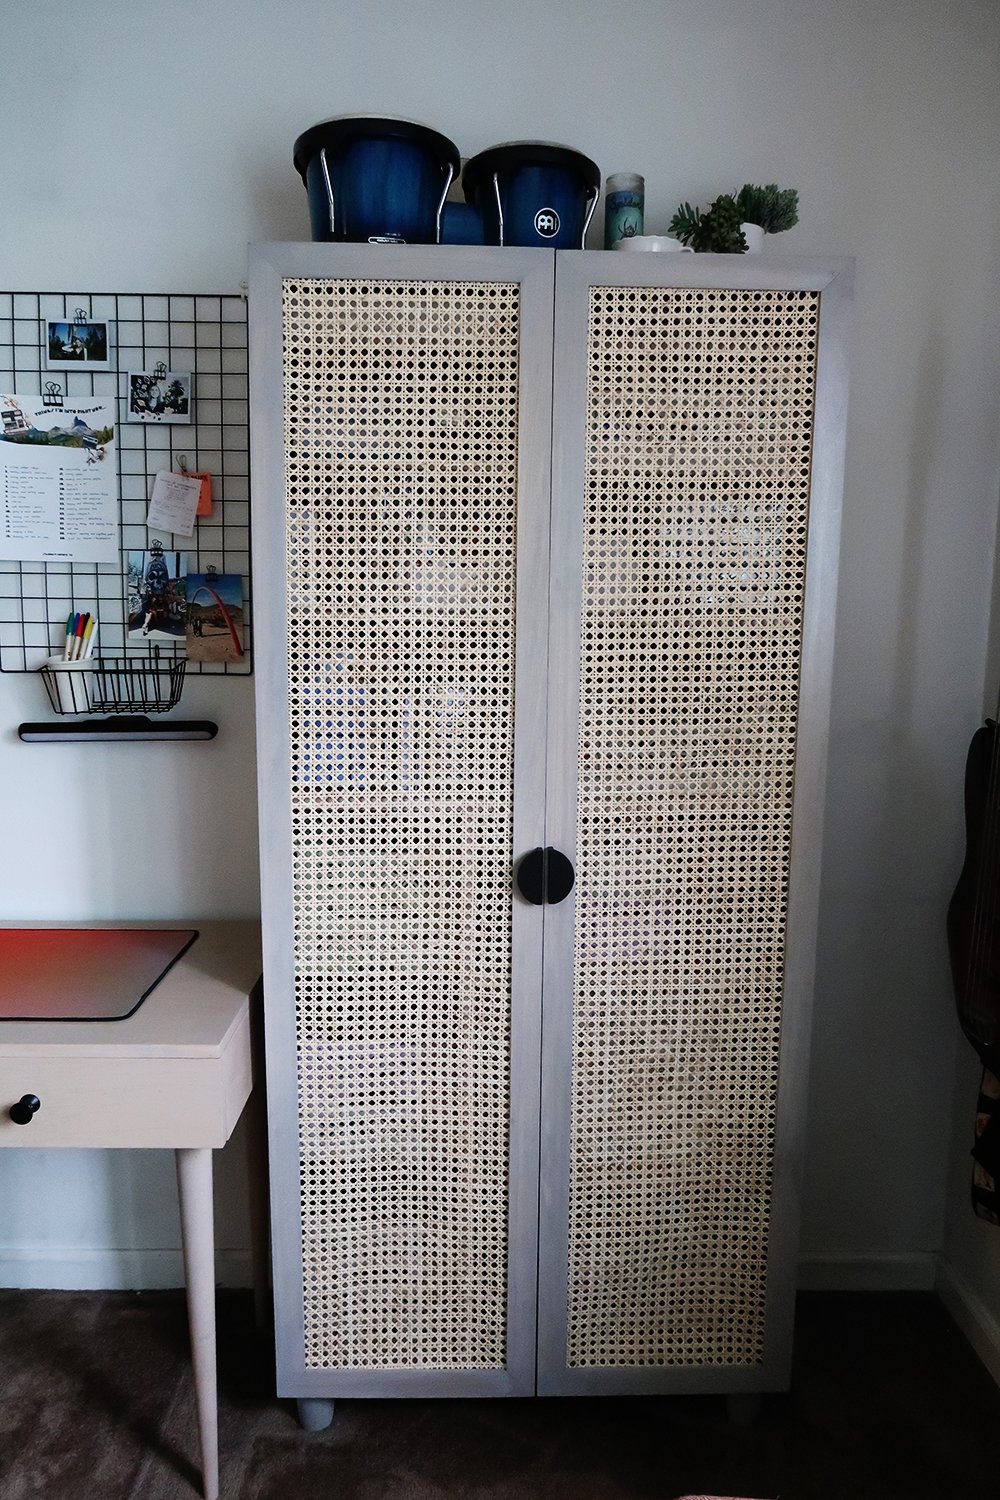
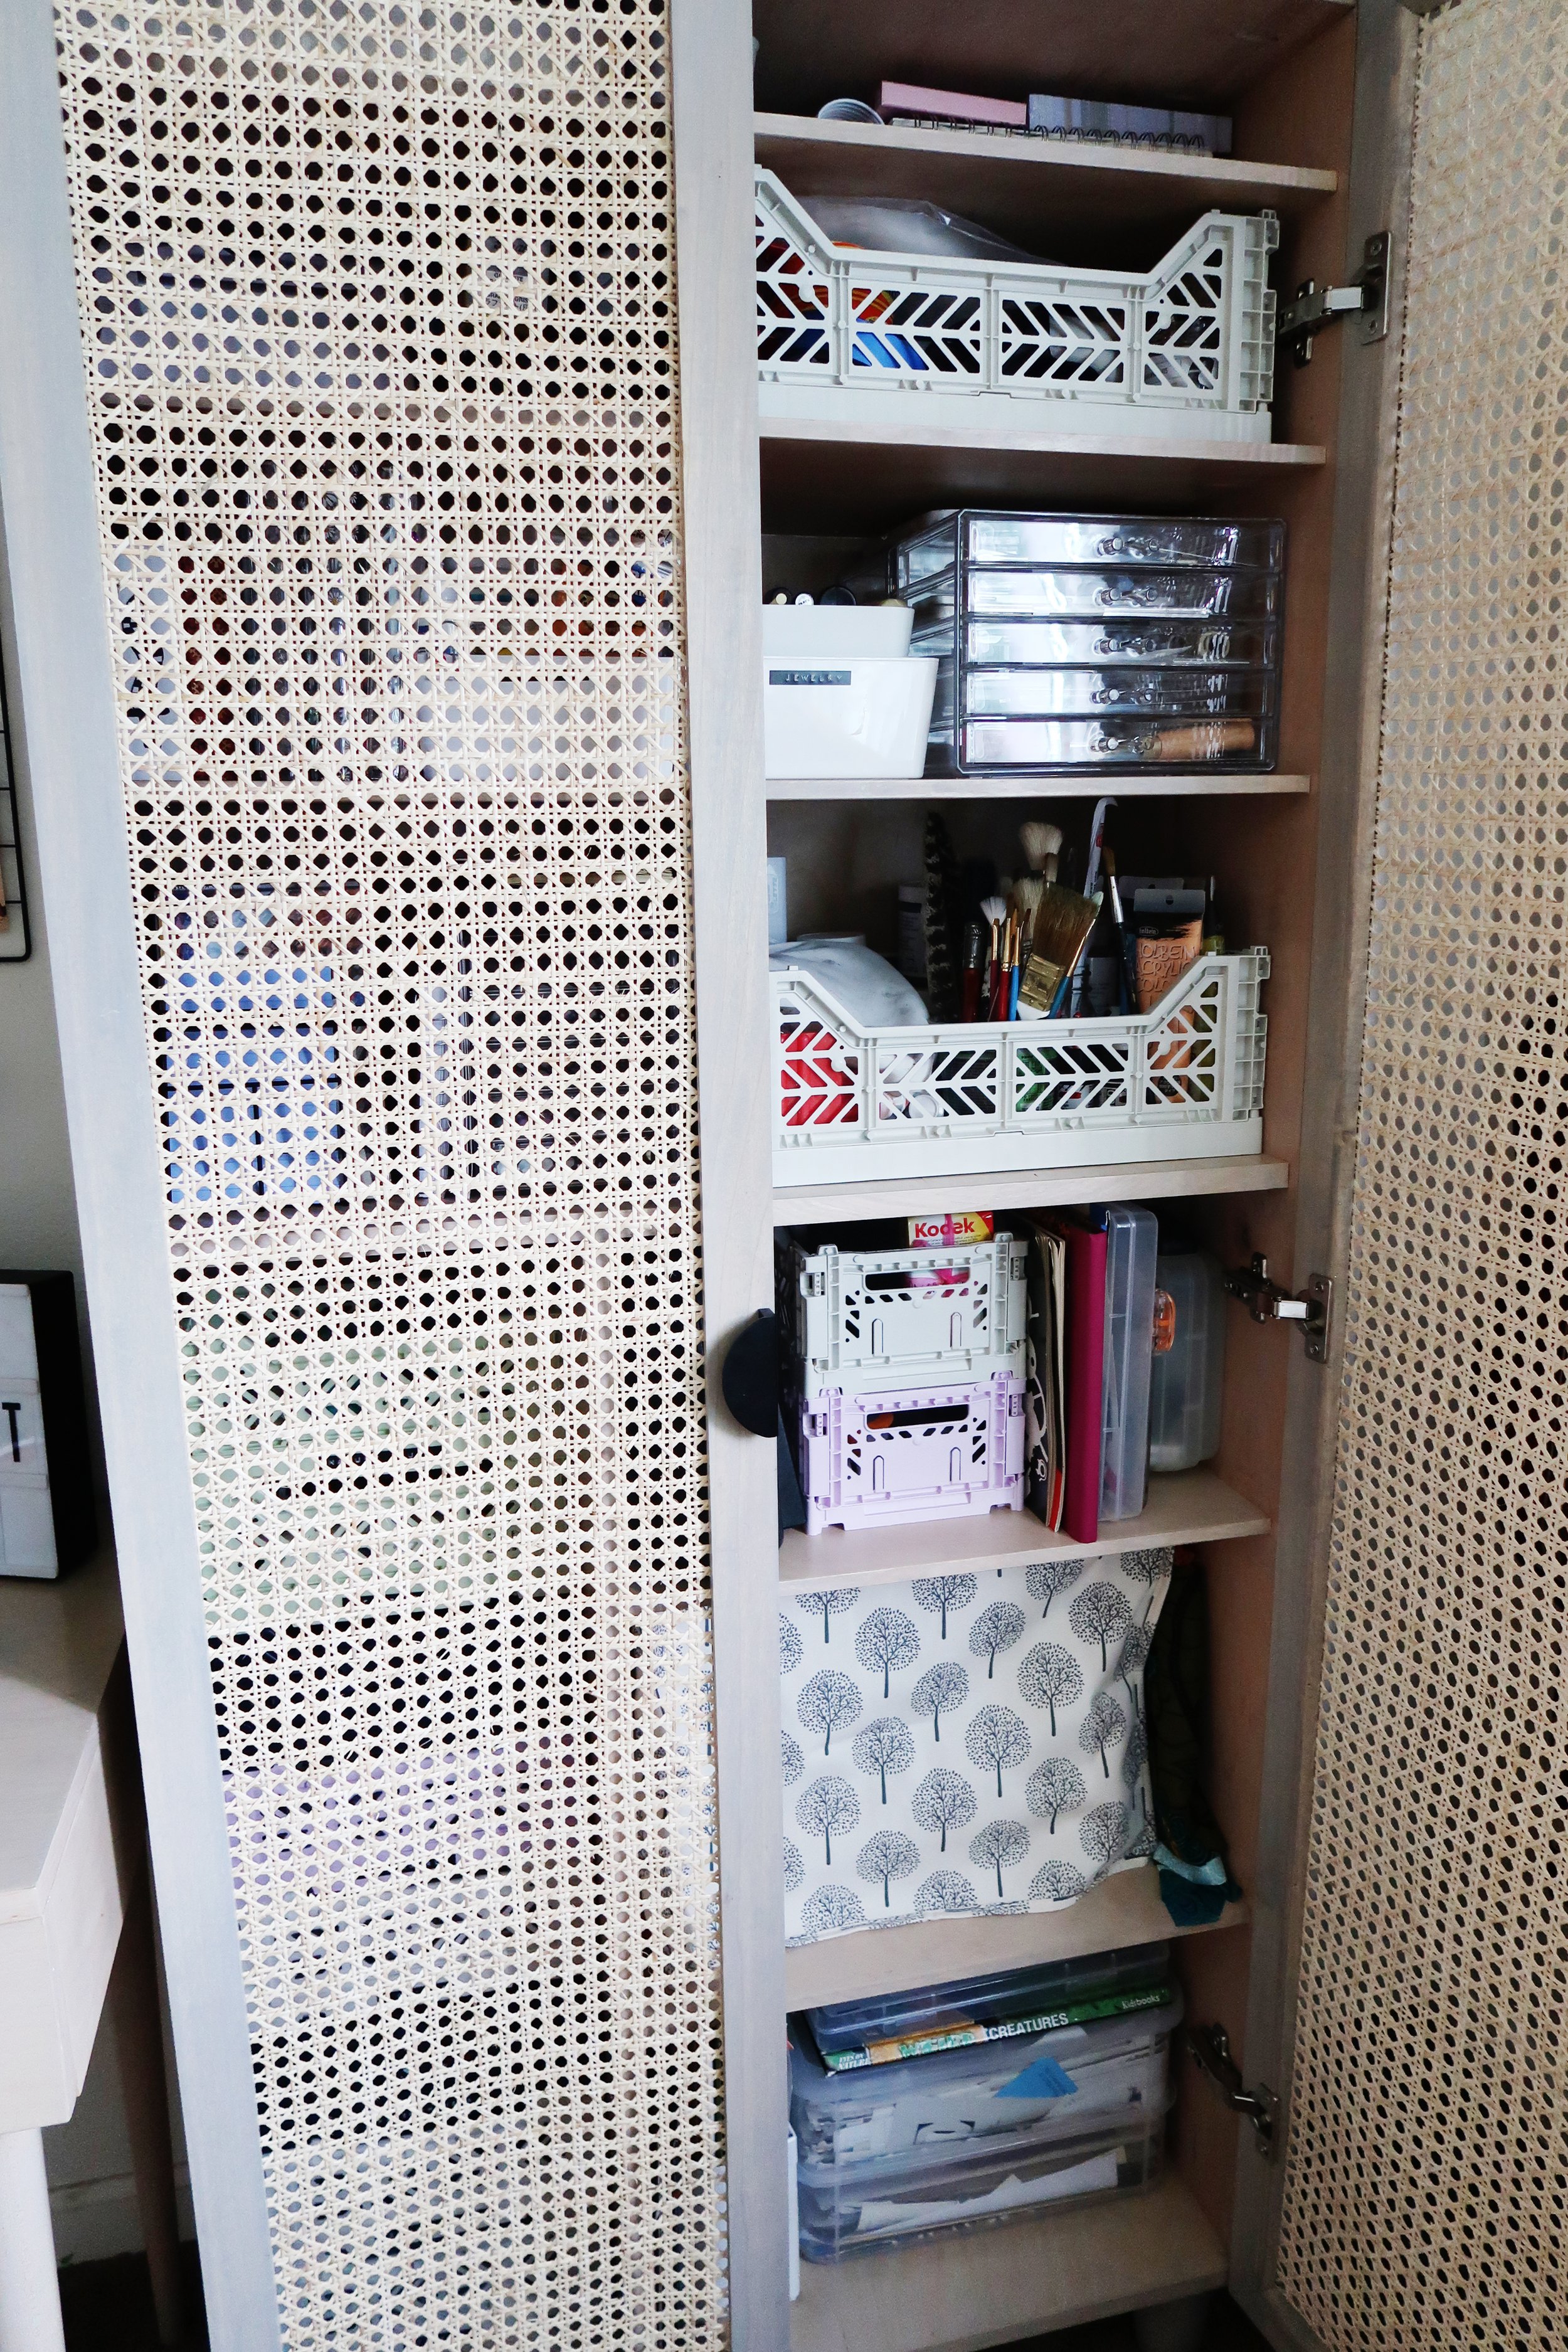
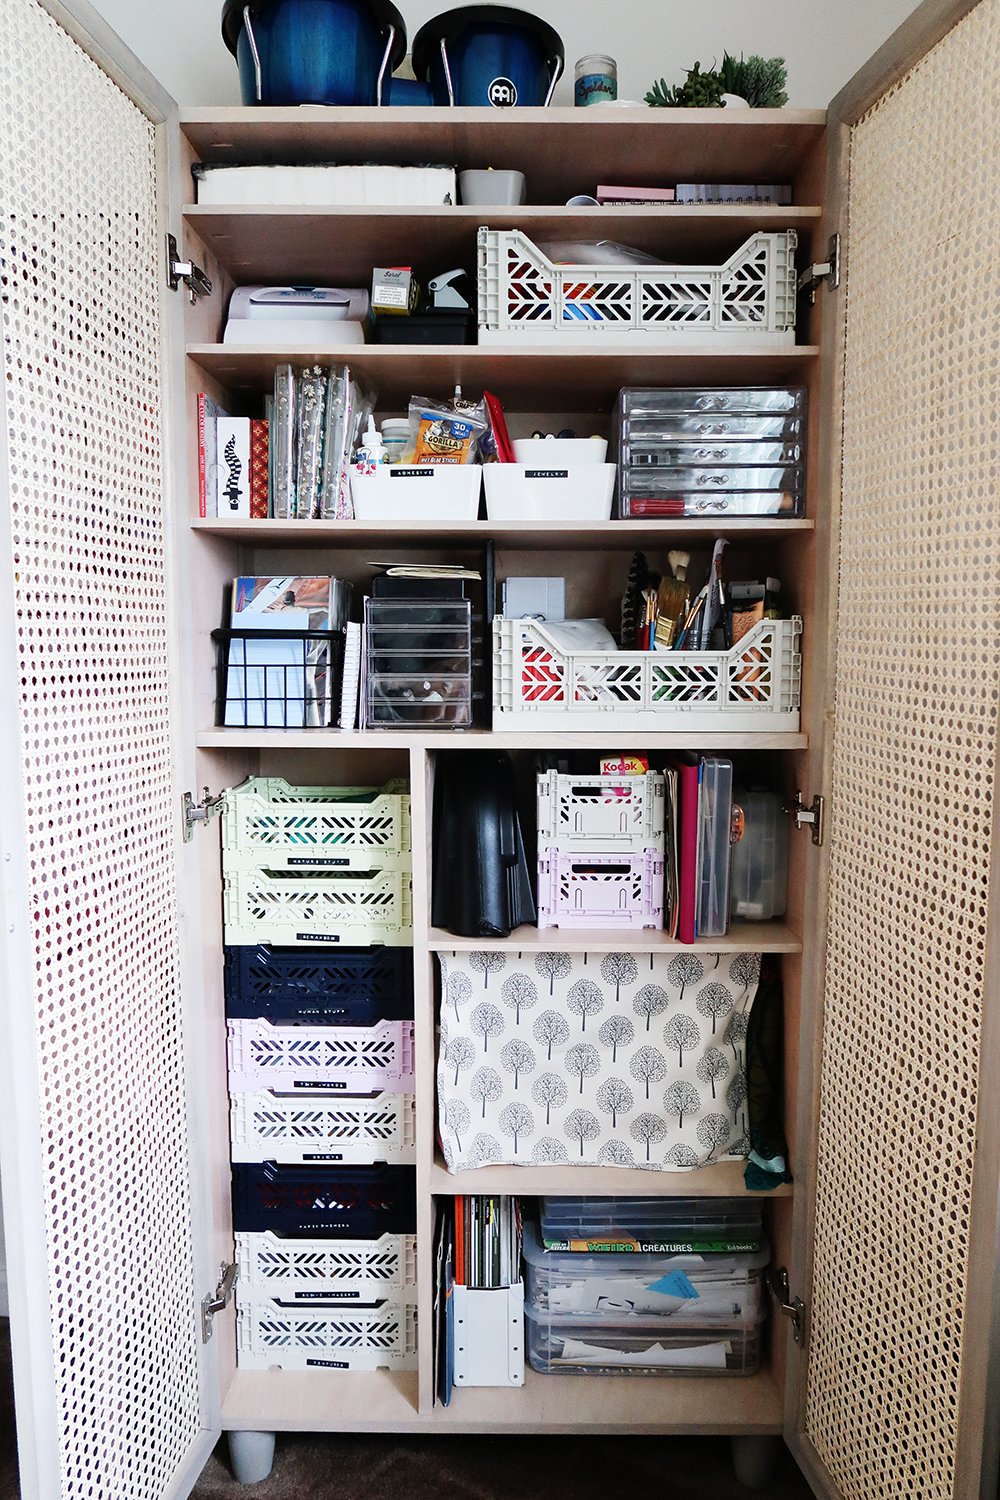
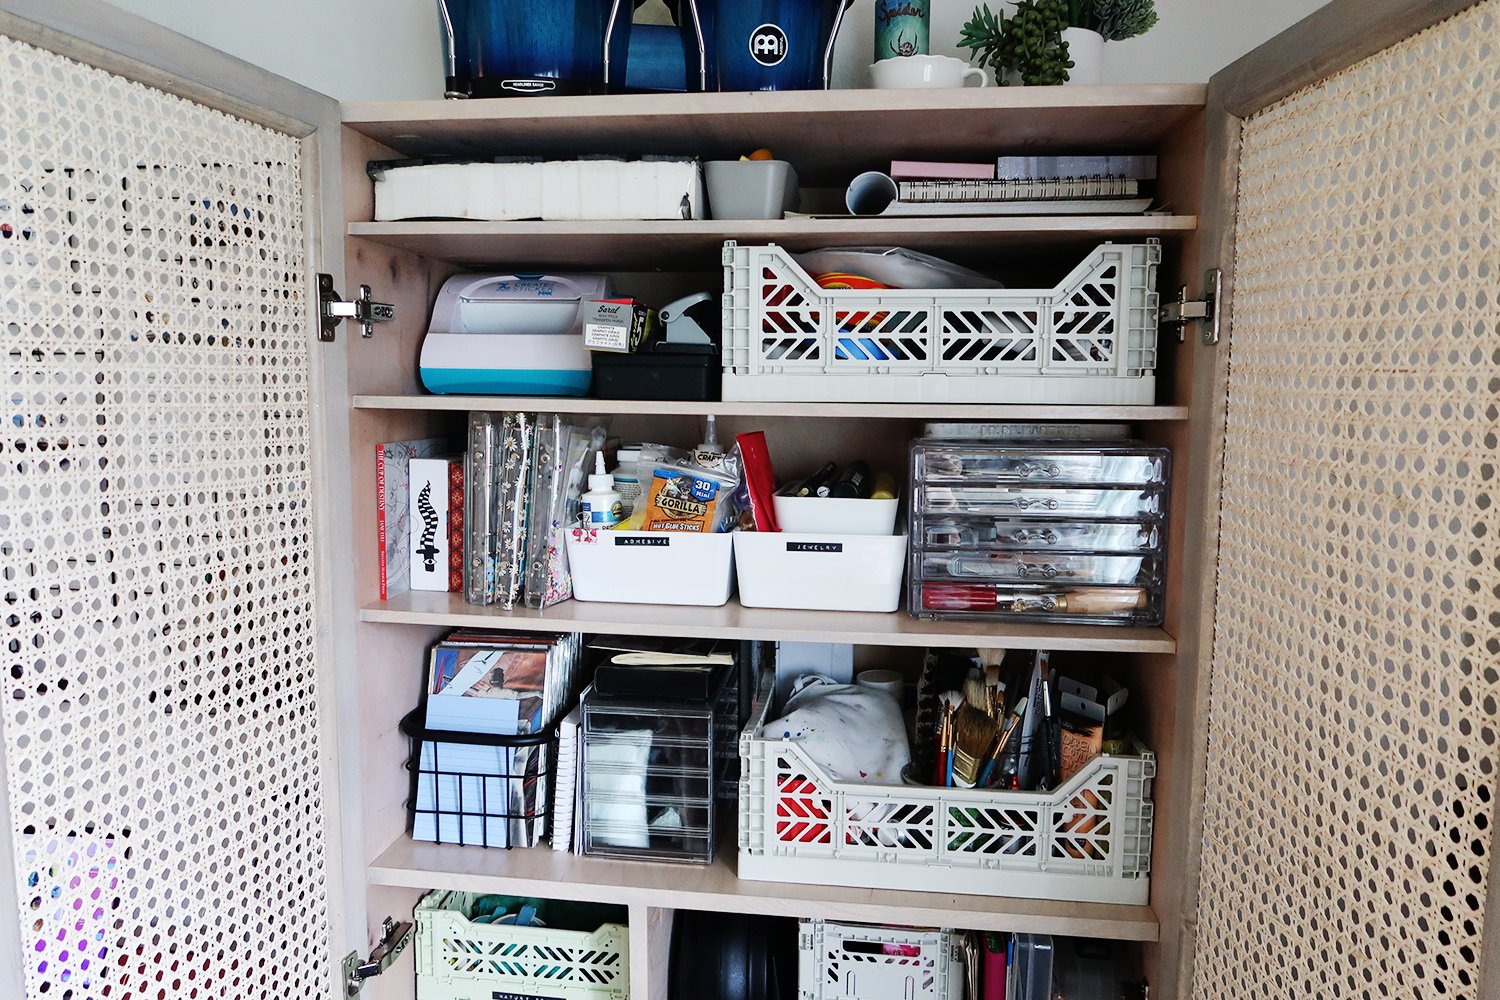
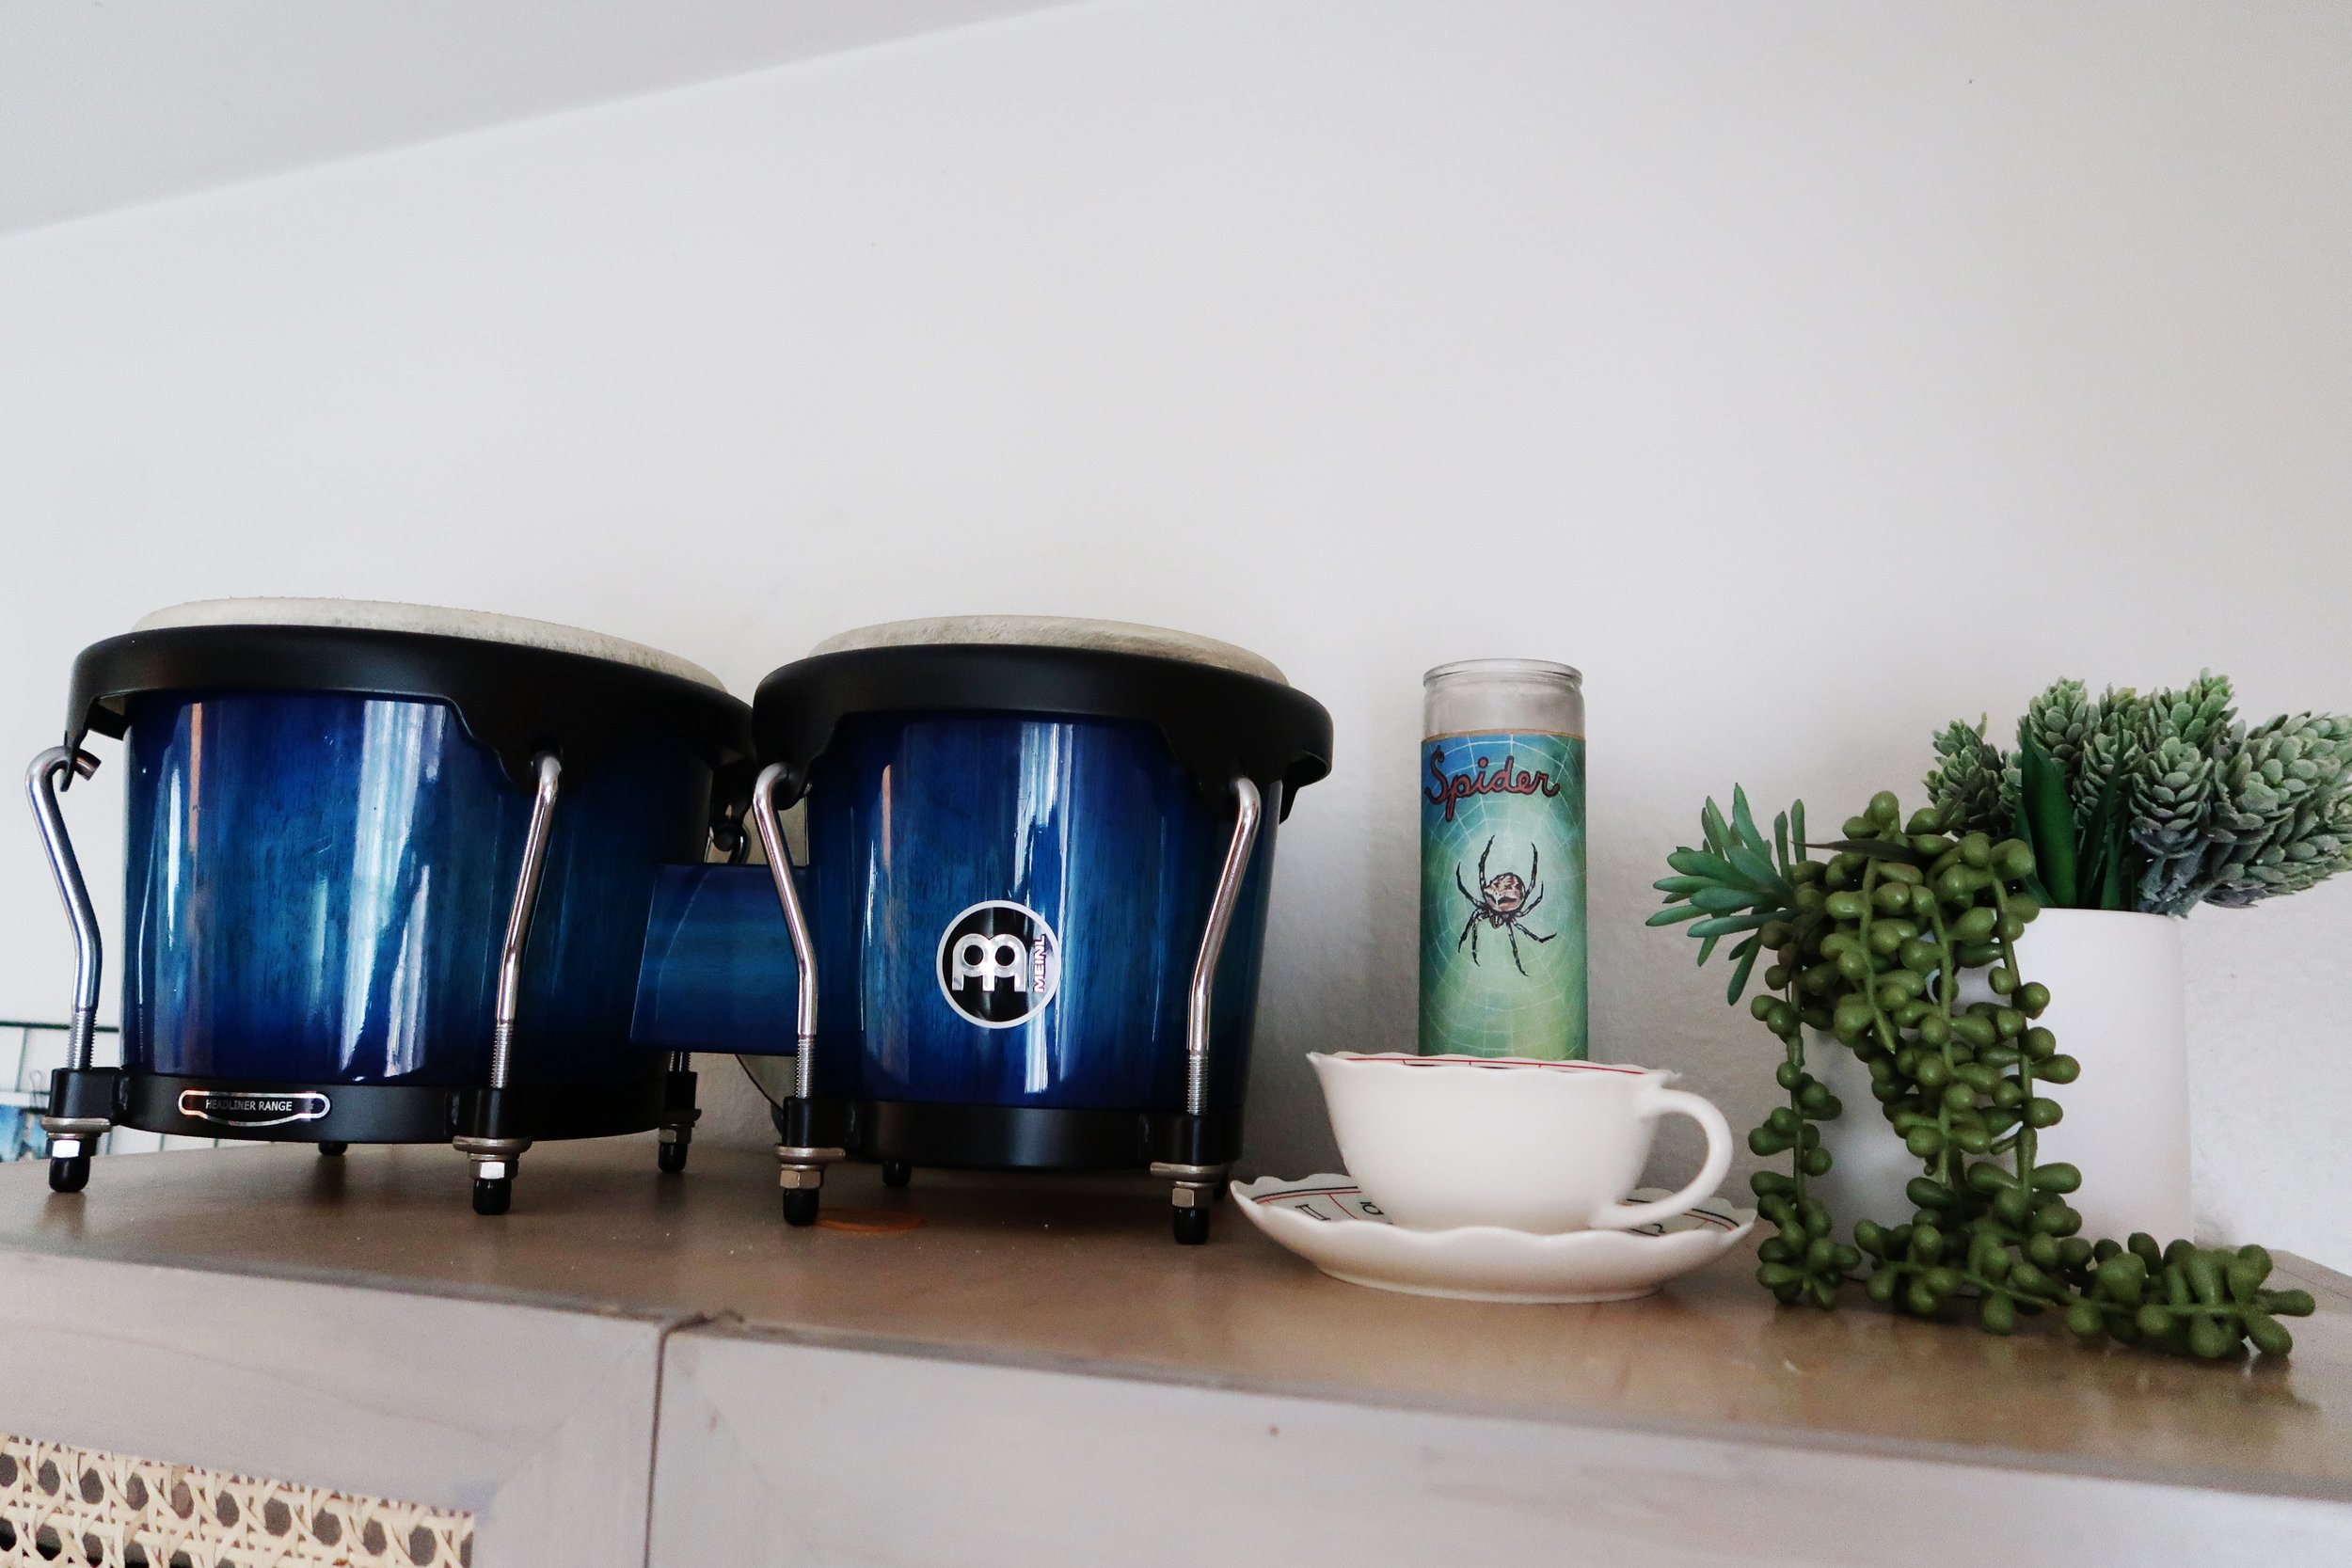
The custom shelves look really clean and I love the way that there is now a place for all of my materials. They are easily accessible but out of sight when I am done for the day. It makes a huge difference in the look and feel of the space, more grown up and professional. I also love the option to store things like my bongos on top.

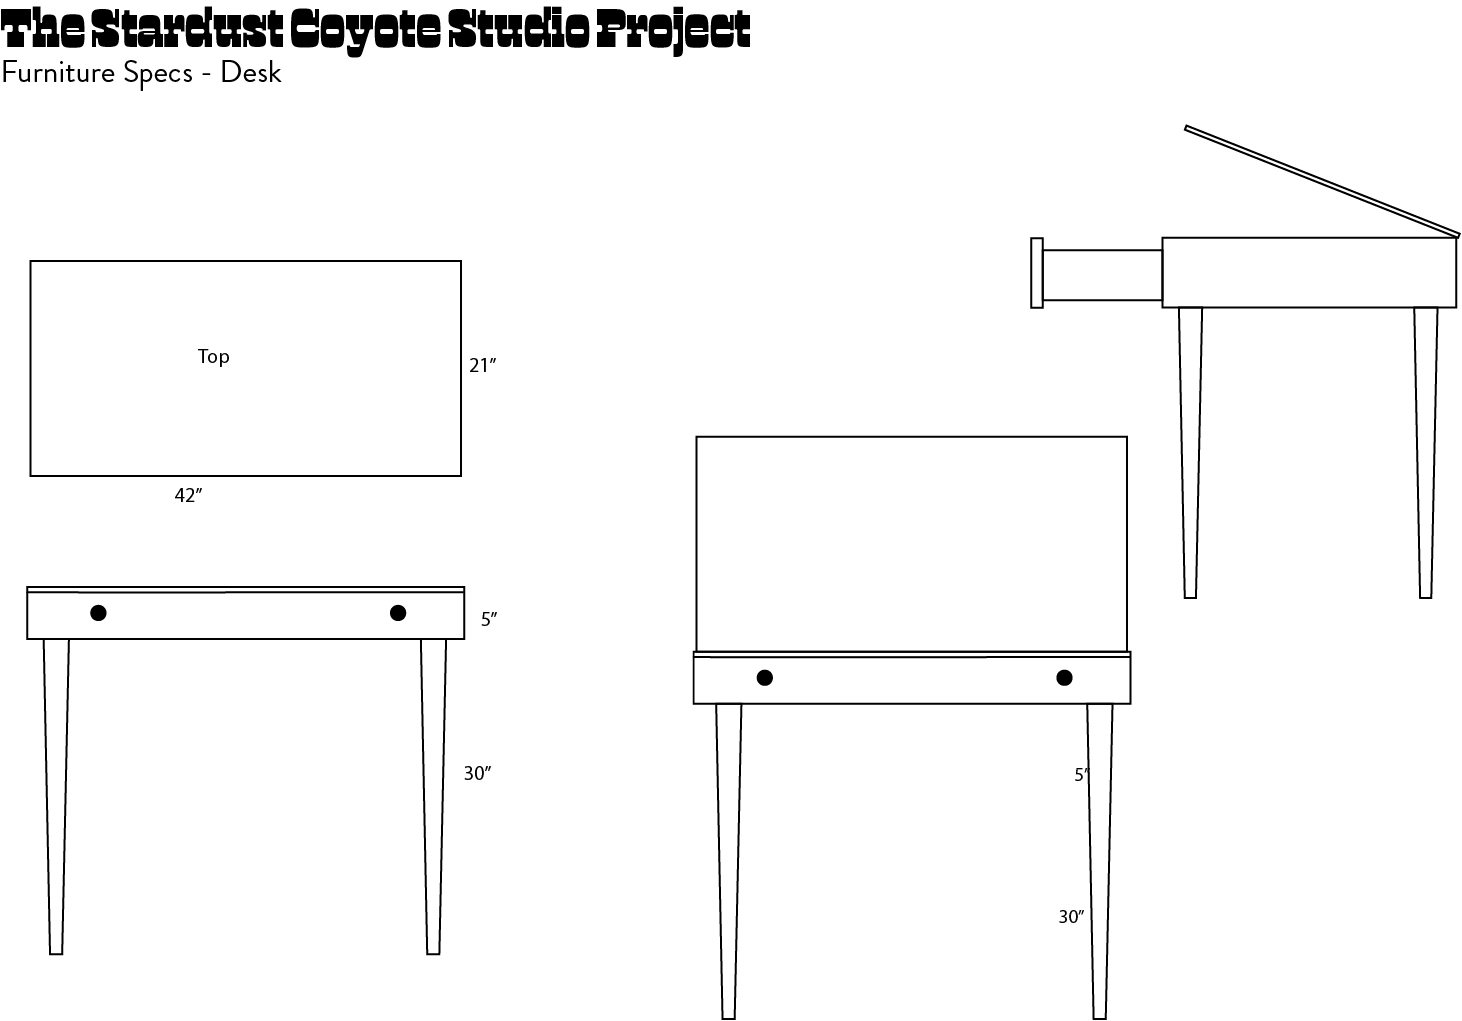
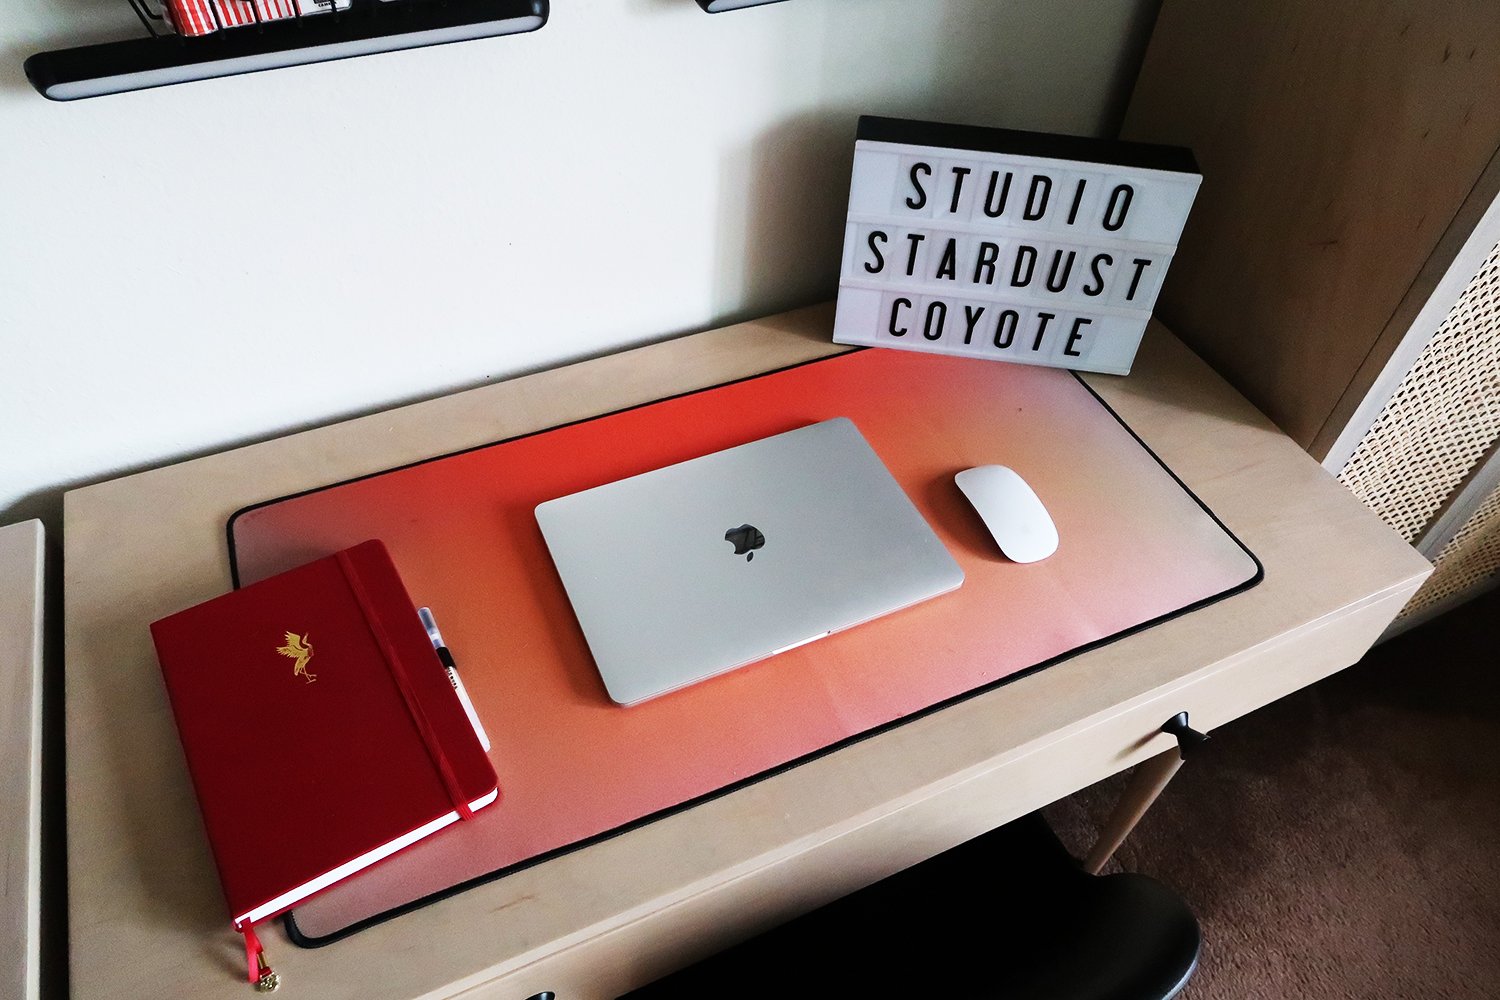
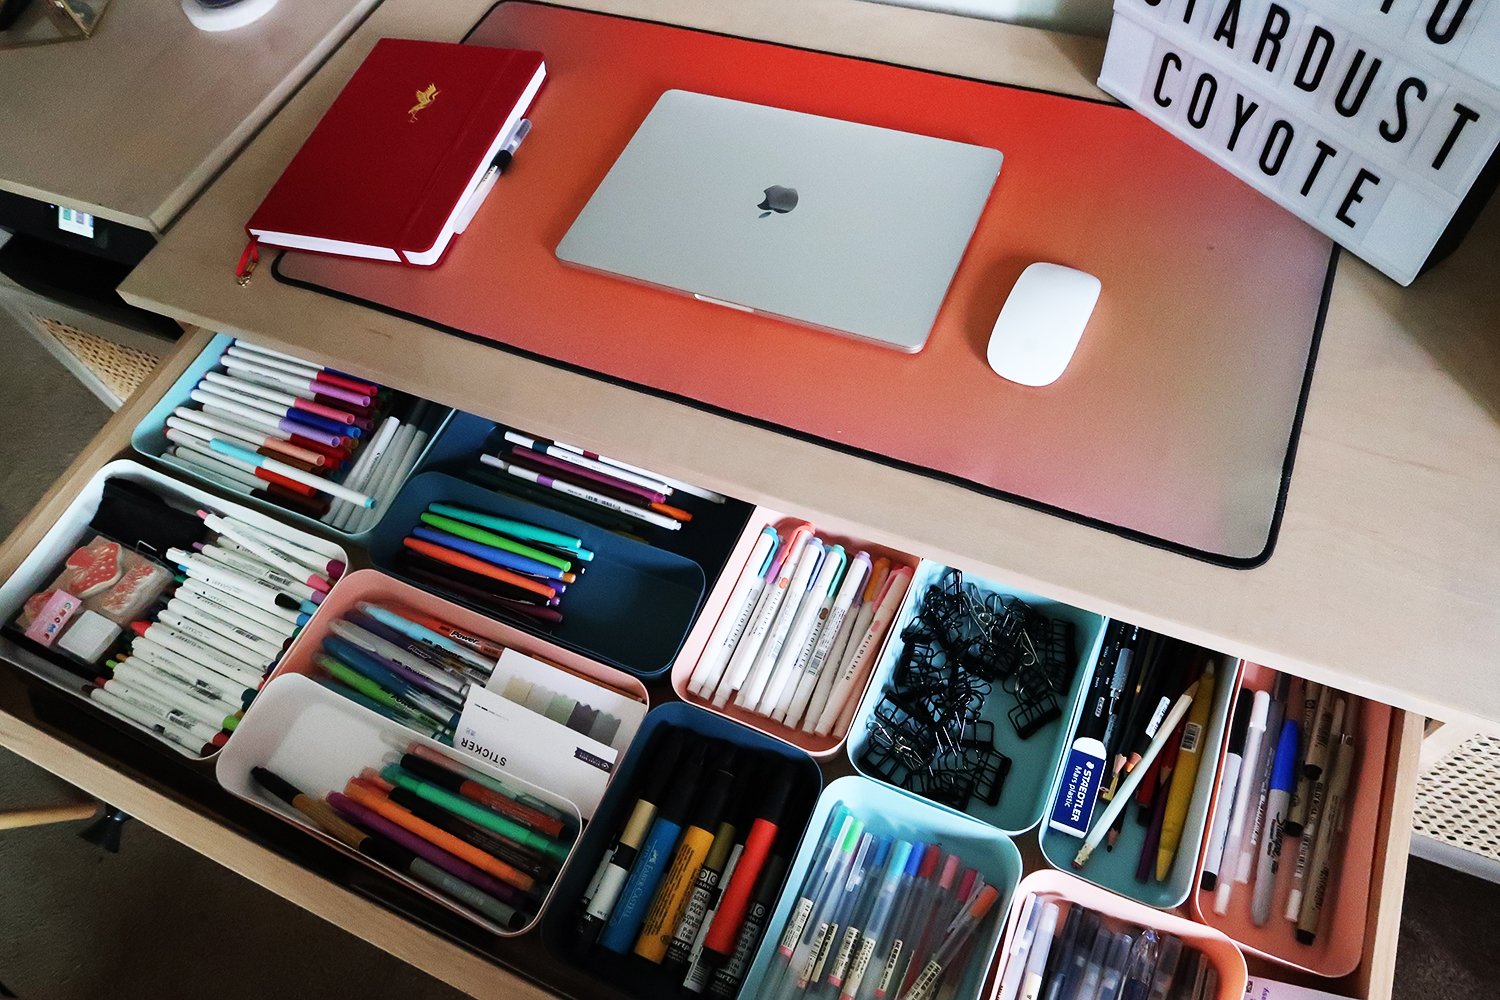
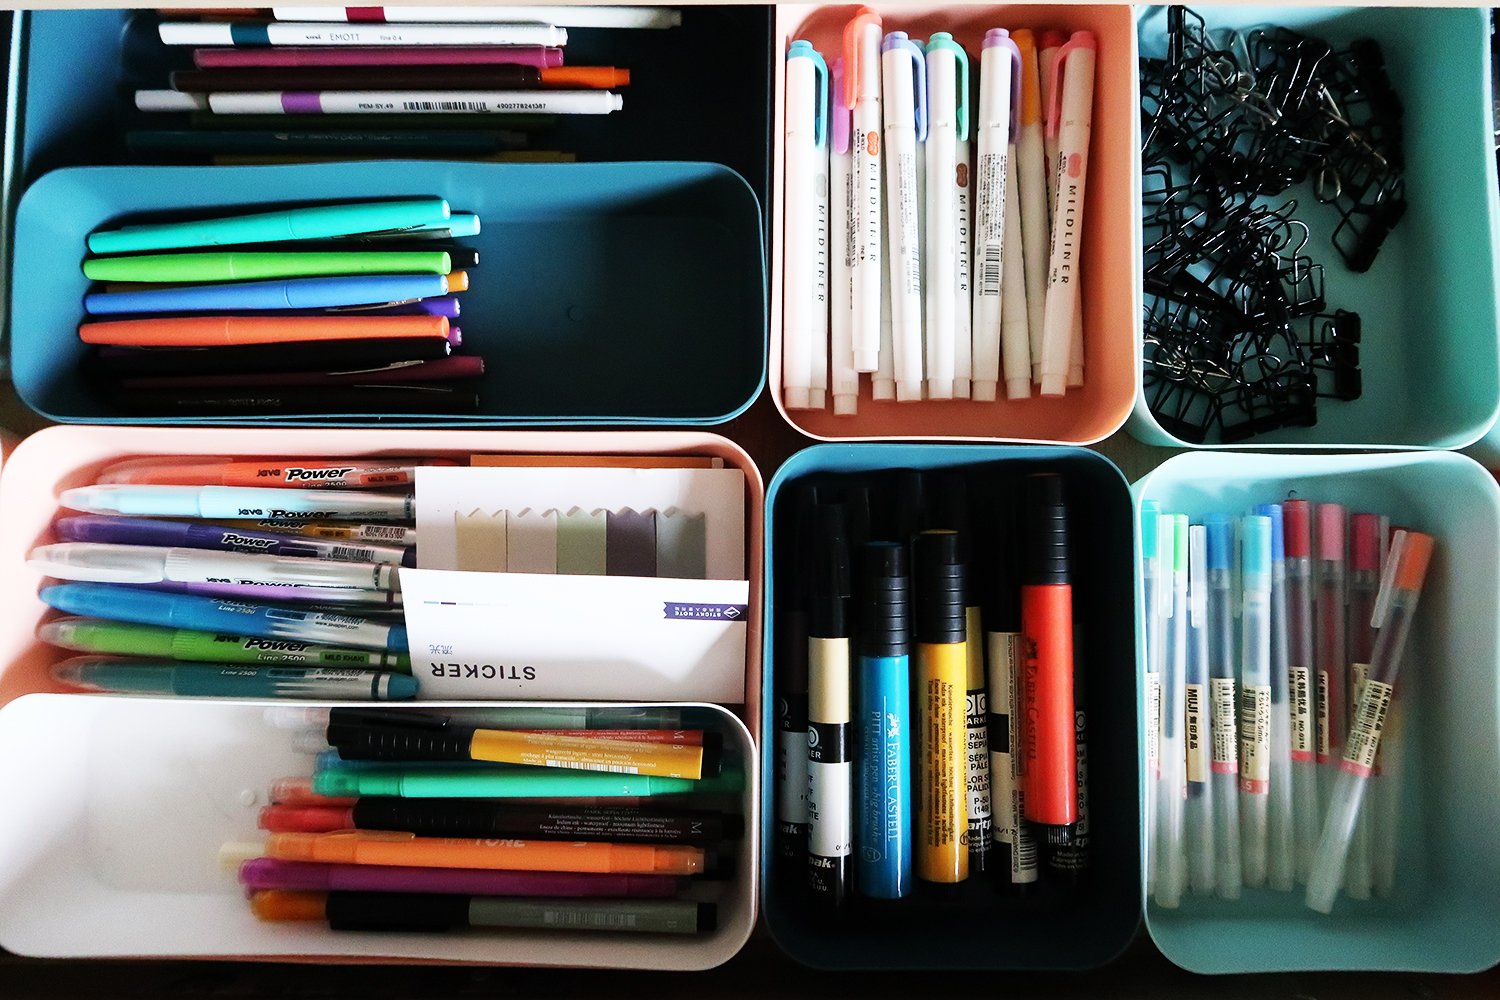
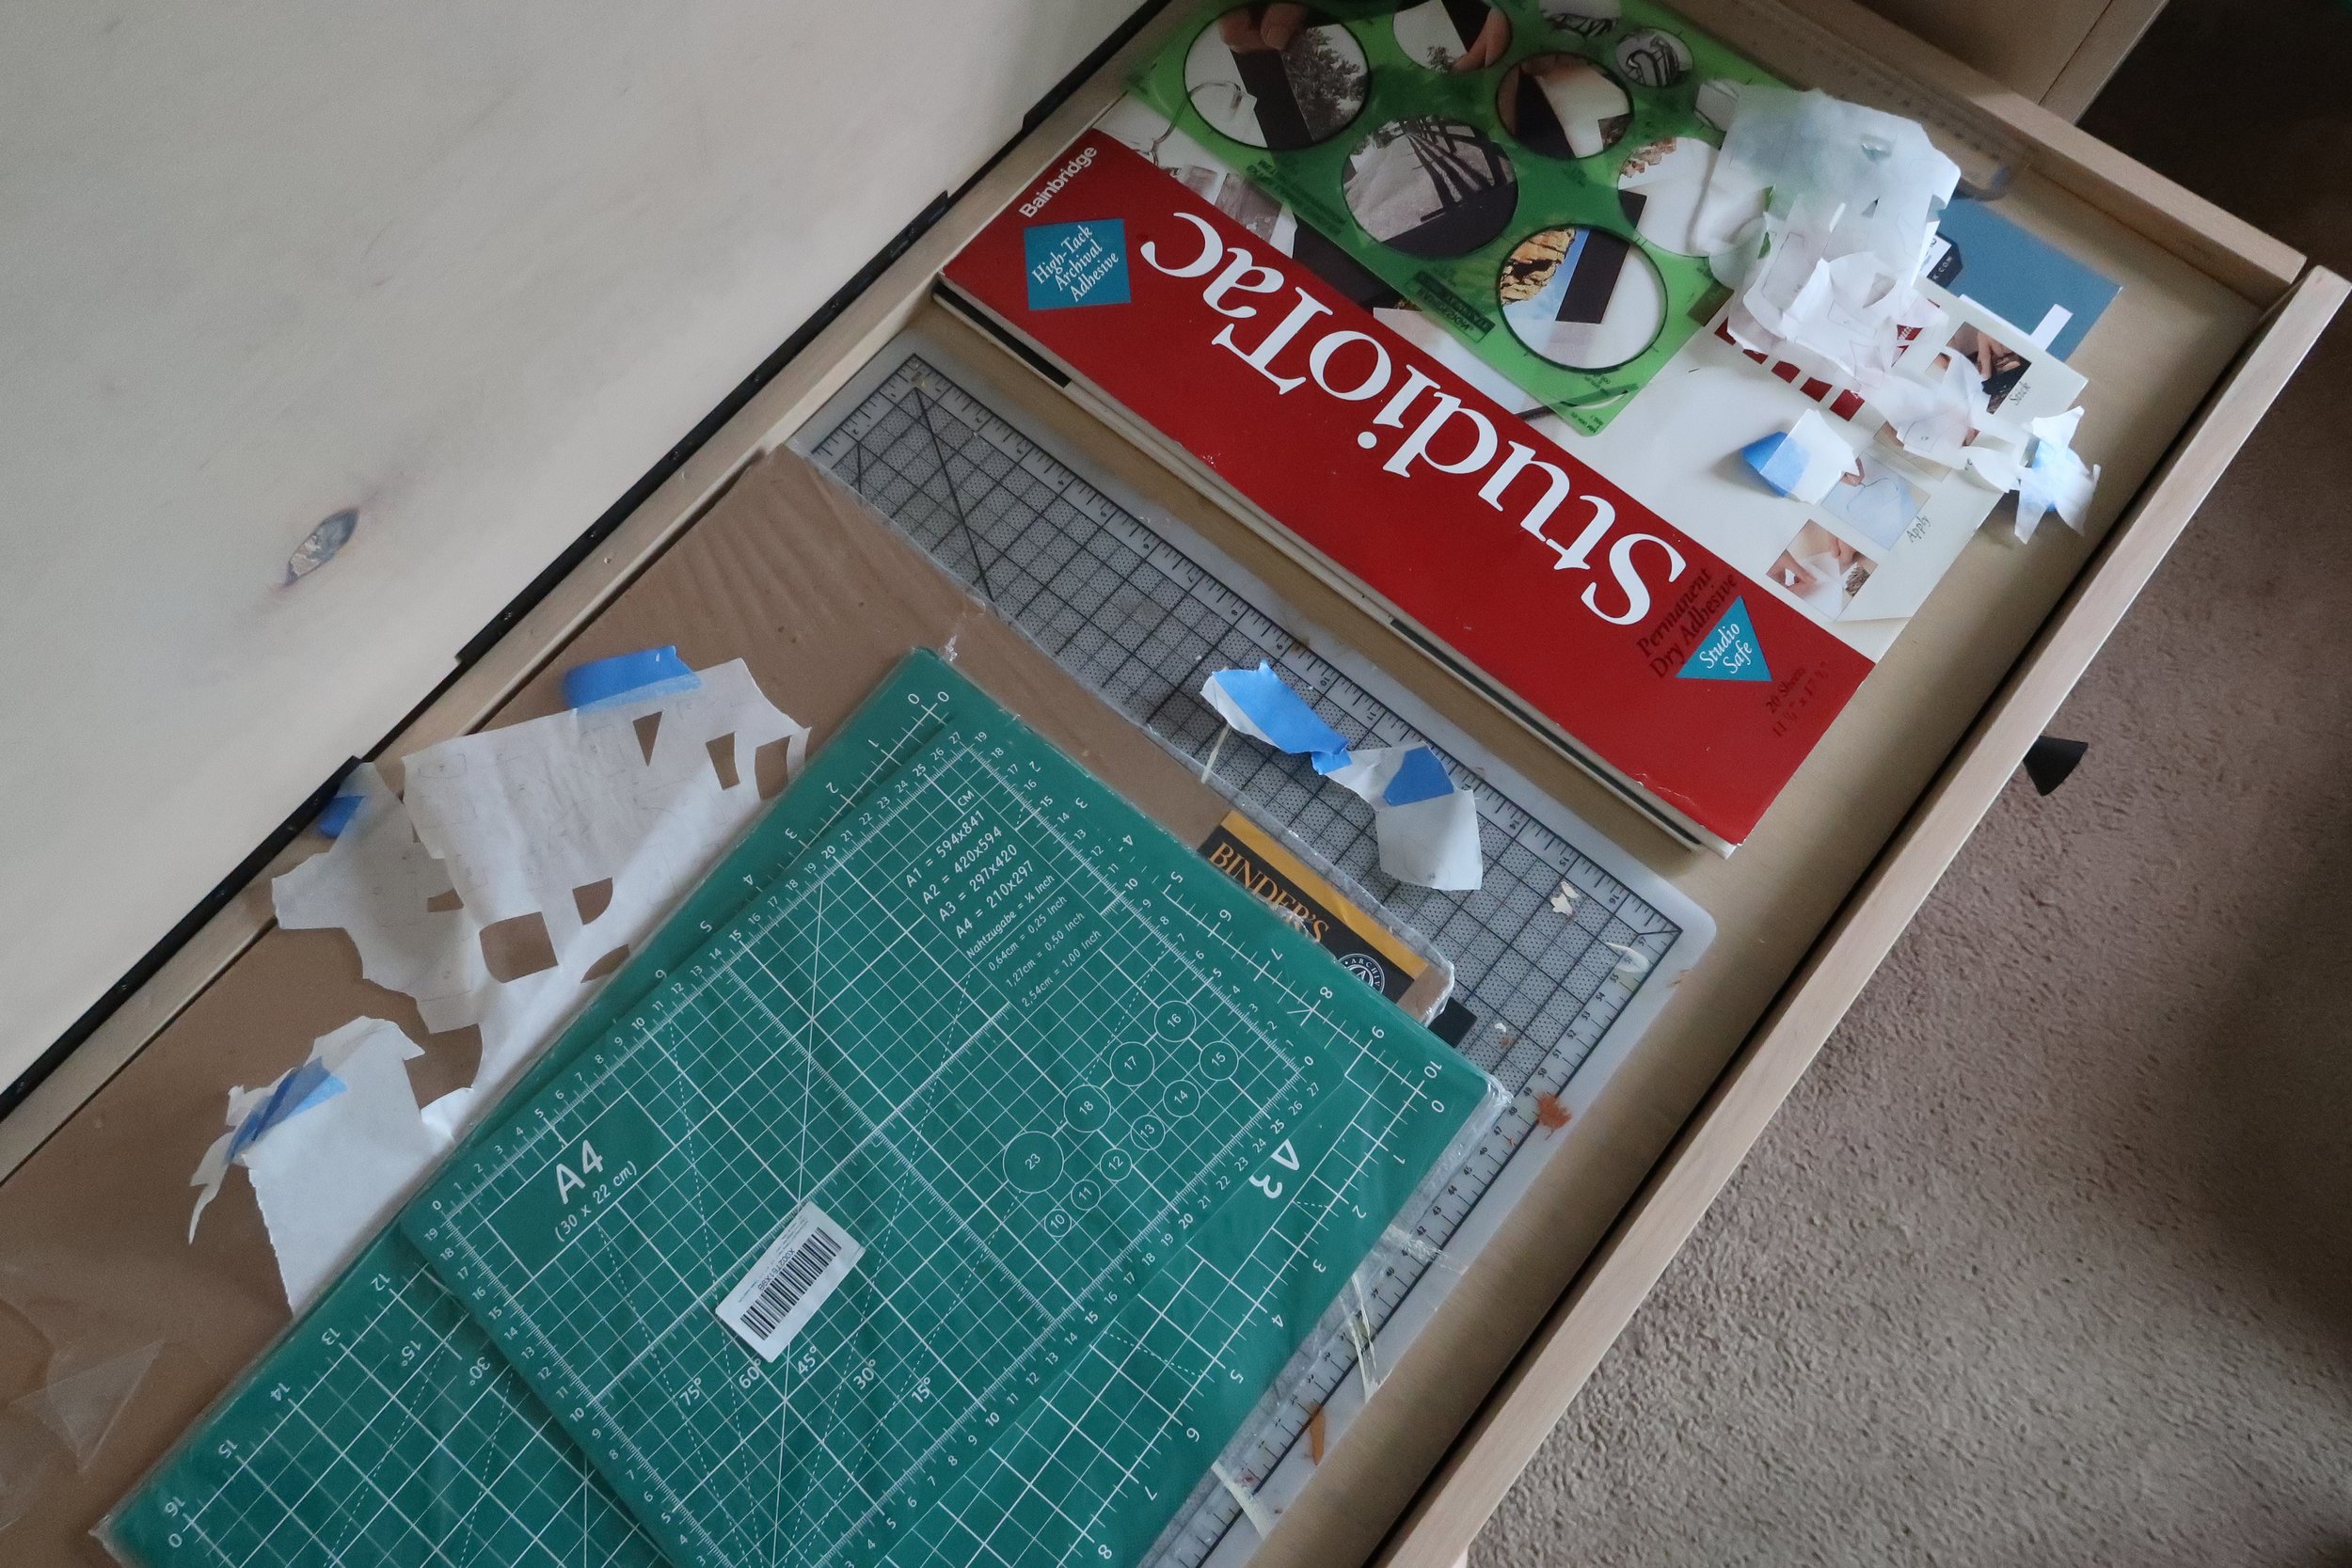
At last, it was time to build the desk, which we began earlier this year. The desk is probably my favorite of the three pieces because it brings everything together and has all the functionality that I wanted and none of the clunkiness of my old desk. For this design, I wanted to incorporate a large drawer for pens and other small art supplies. I also wanted the top to lift up to reveal a wide, shallow shelf that I could use to store cutting mats and large in-progress work.
By the time we got to the desk, my dad and I were really hitting our stride with building. This desk came together in a snap, although it really was the simplest design by far. All the furniture is held together using pocket-hole joinery which is a really easy and accessible technique of drilling pocket holes at angles into the plywood and then driving screws to attach the two pieces together. The pocket holes are hidden in areas you can’t see, but most of the pieces can easily be disassembled.
I love the sleek look of the desk and the fact that it has so much storage and reveals so much when you open it up. I love being able to see all of my tools and have easy access to things I use all the time. The shallow drawer is really a game changer because I can keep my large cutting mats hidden away instead of having them on the desk or shoved under the couch.
Part 3 - Finishing Touches
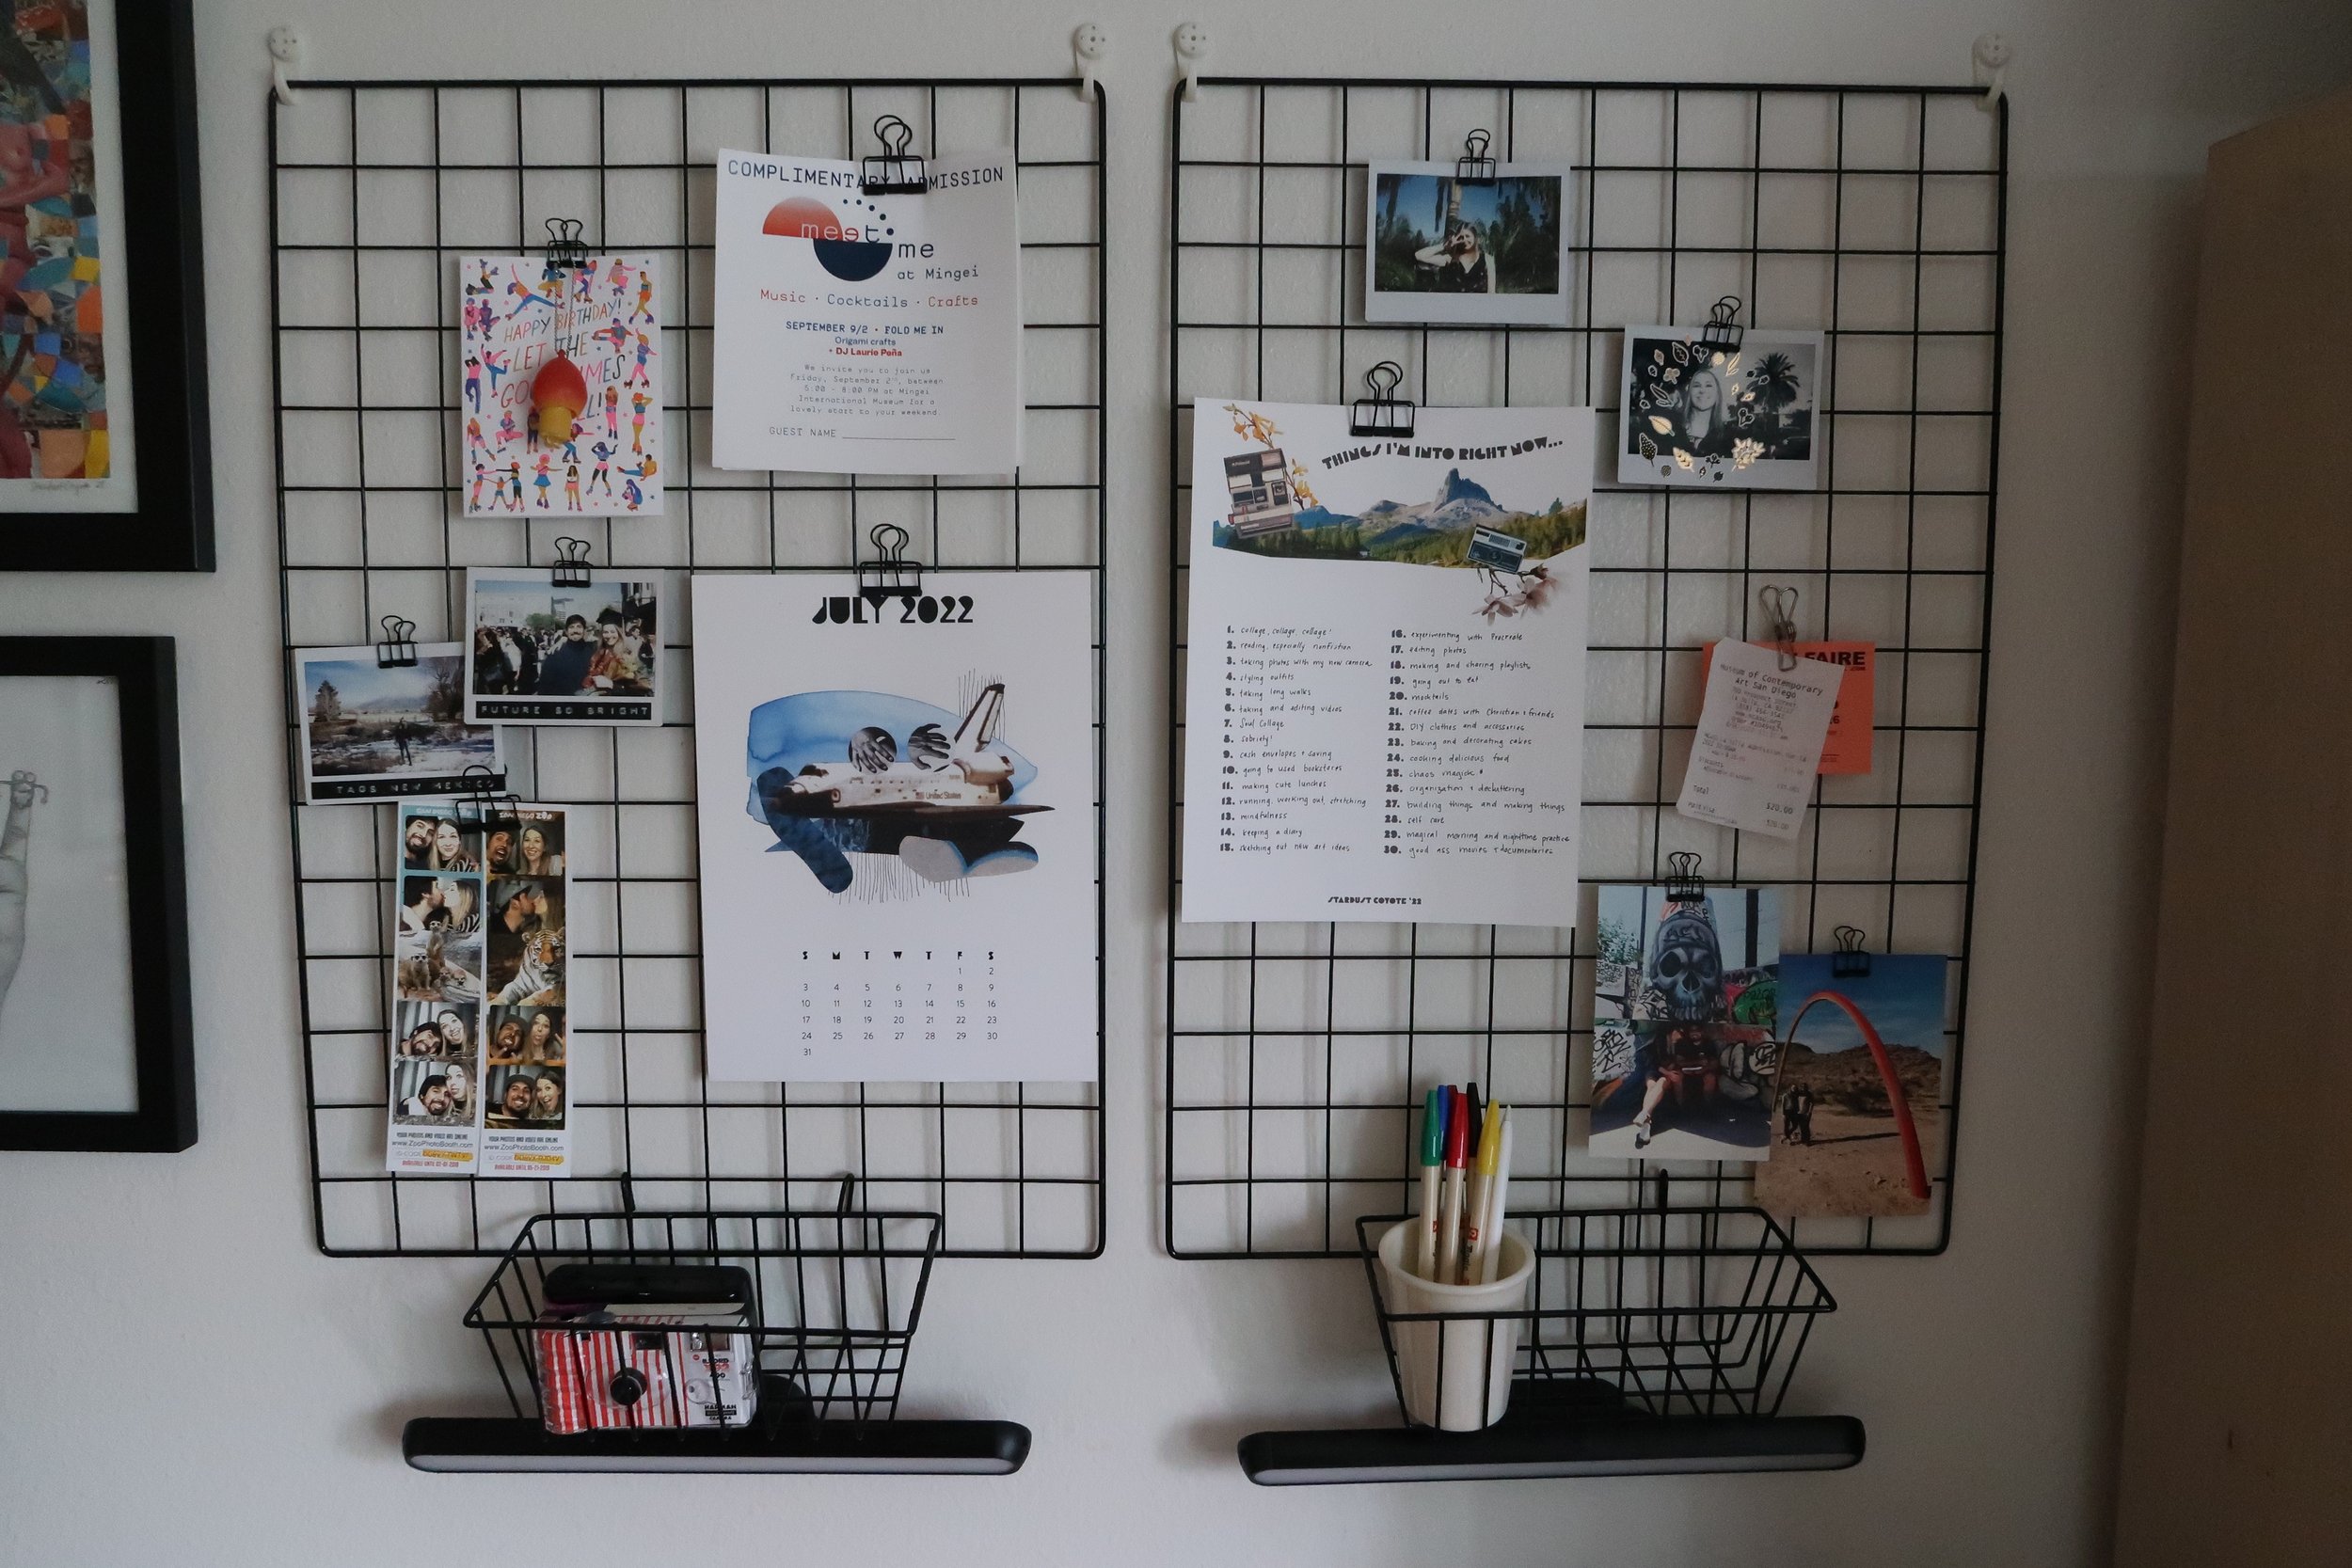
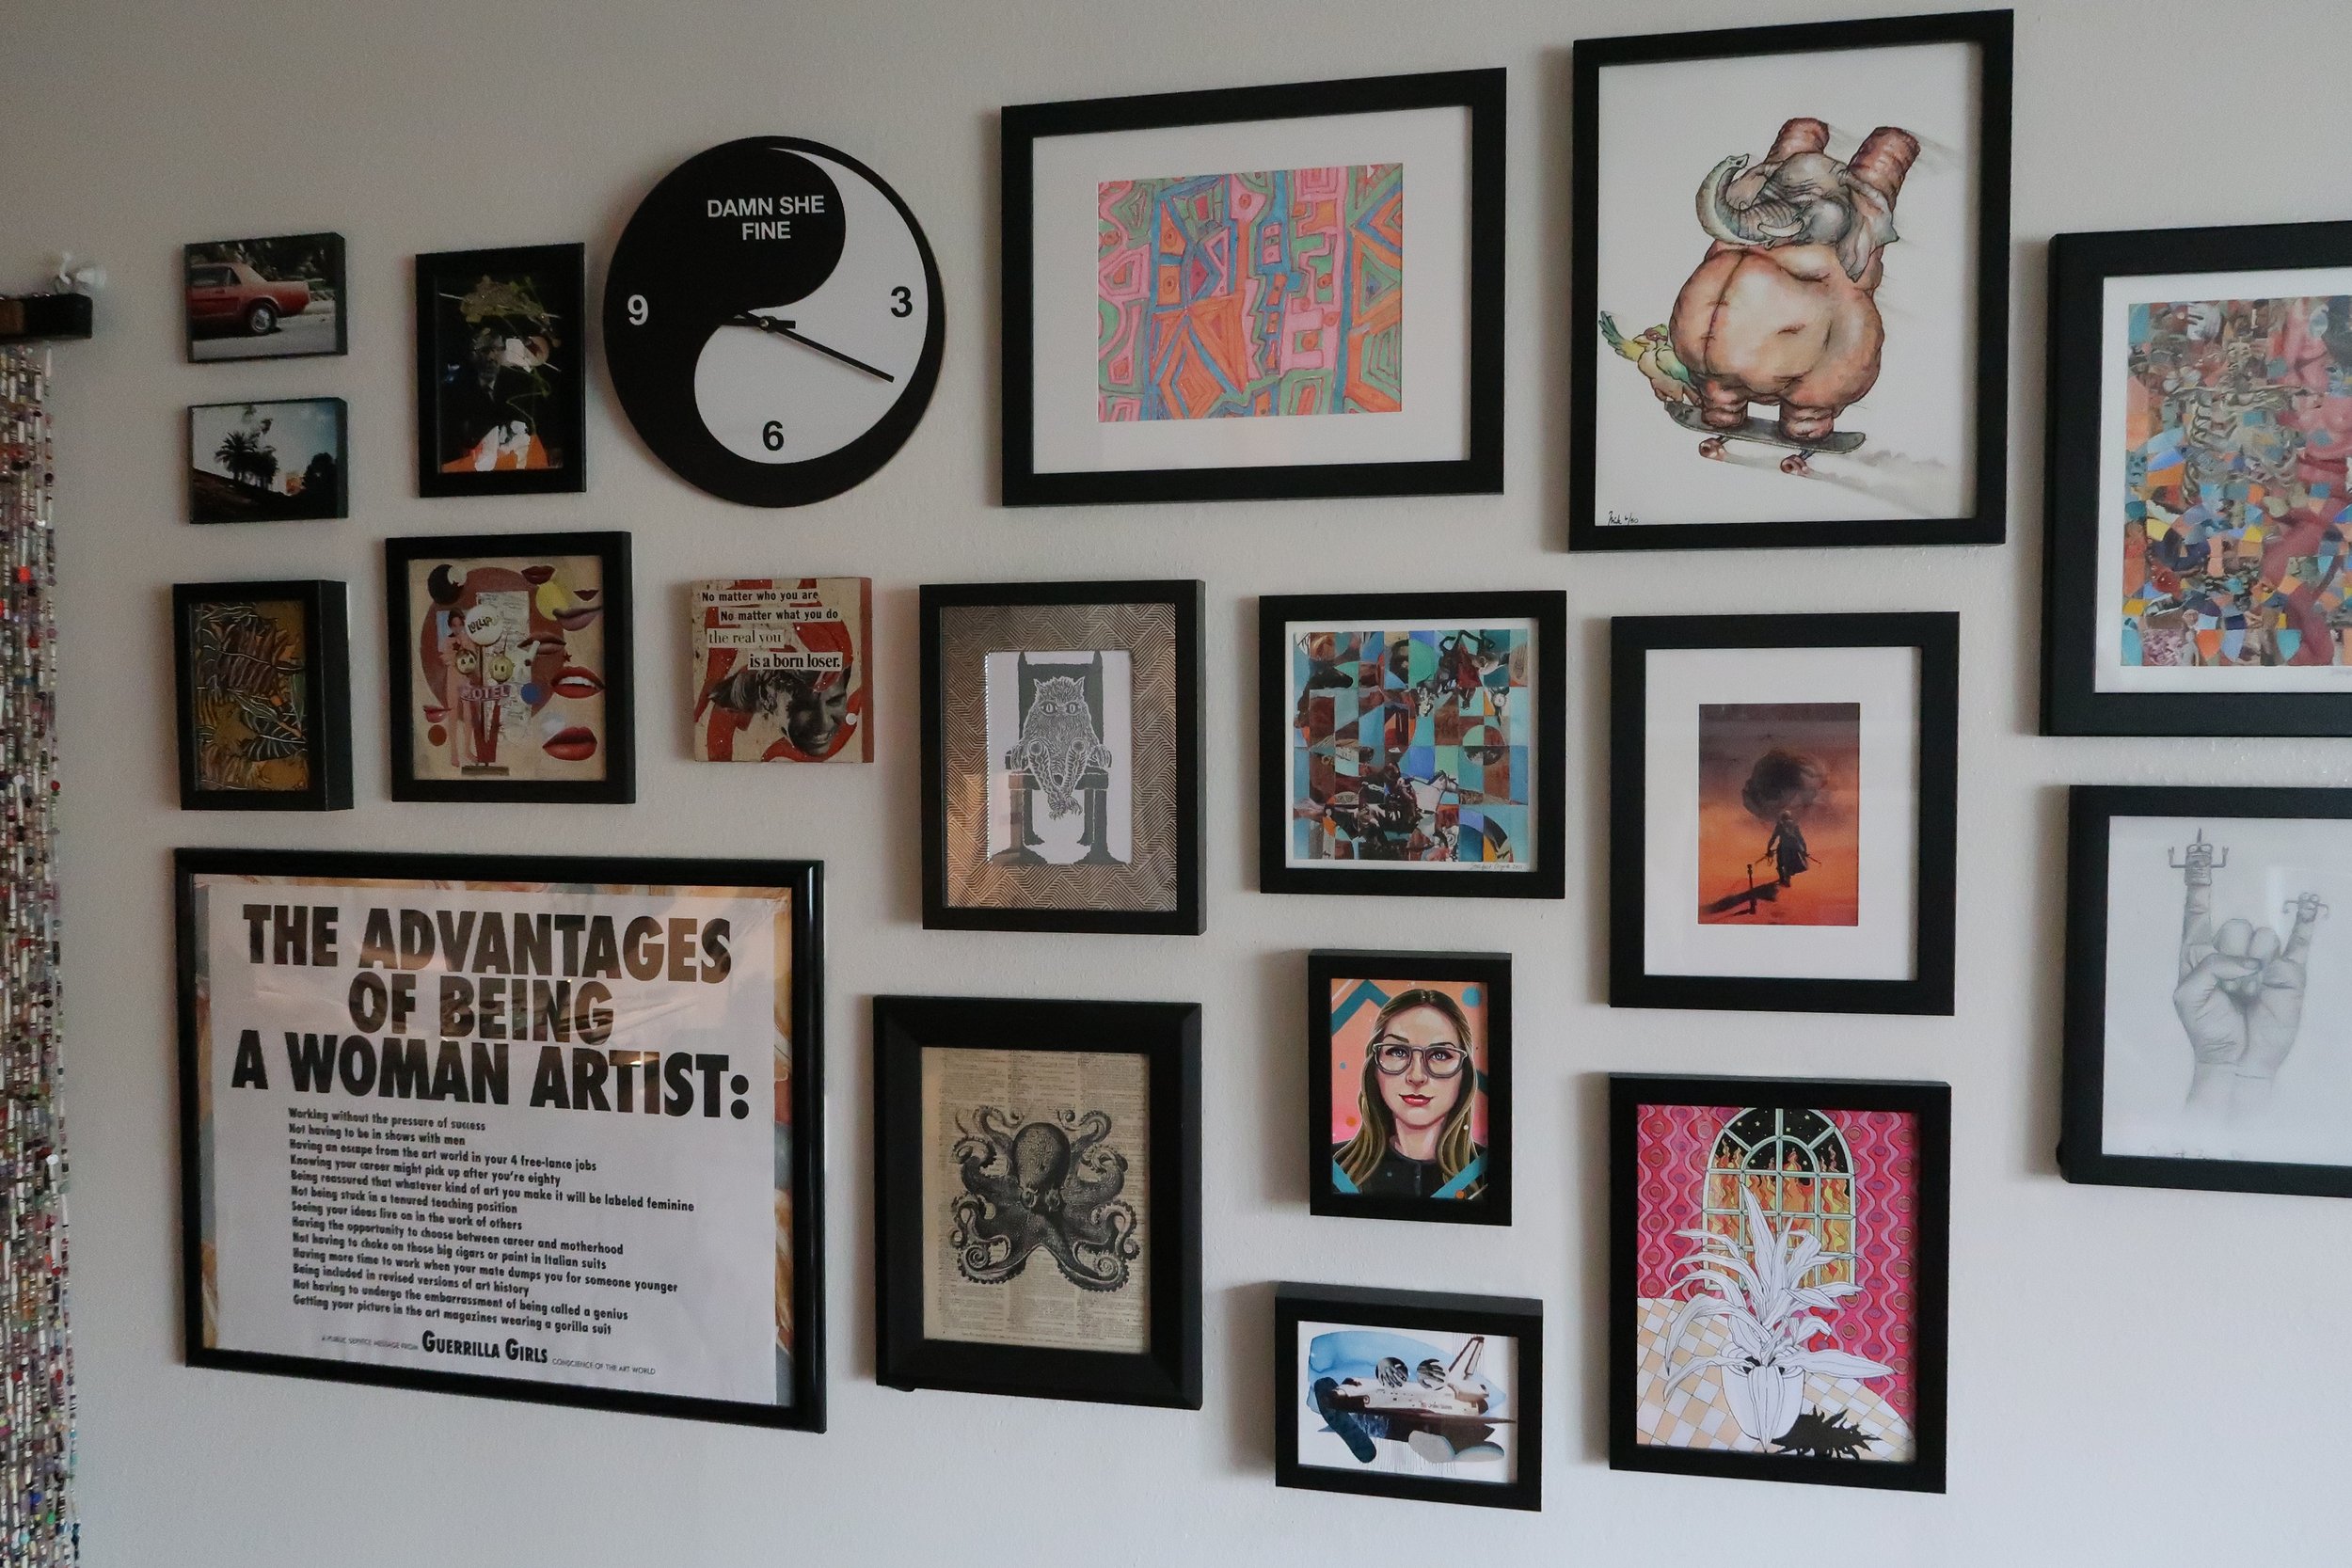
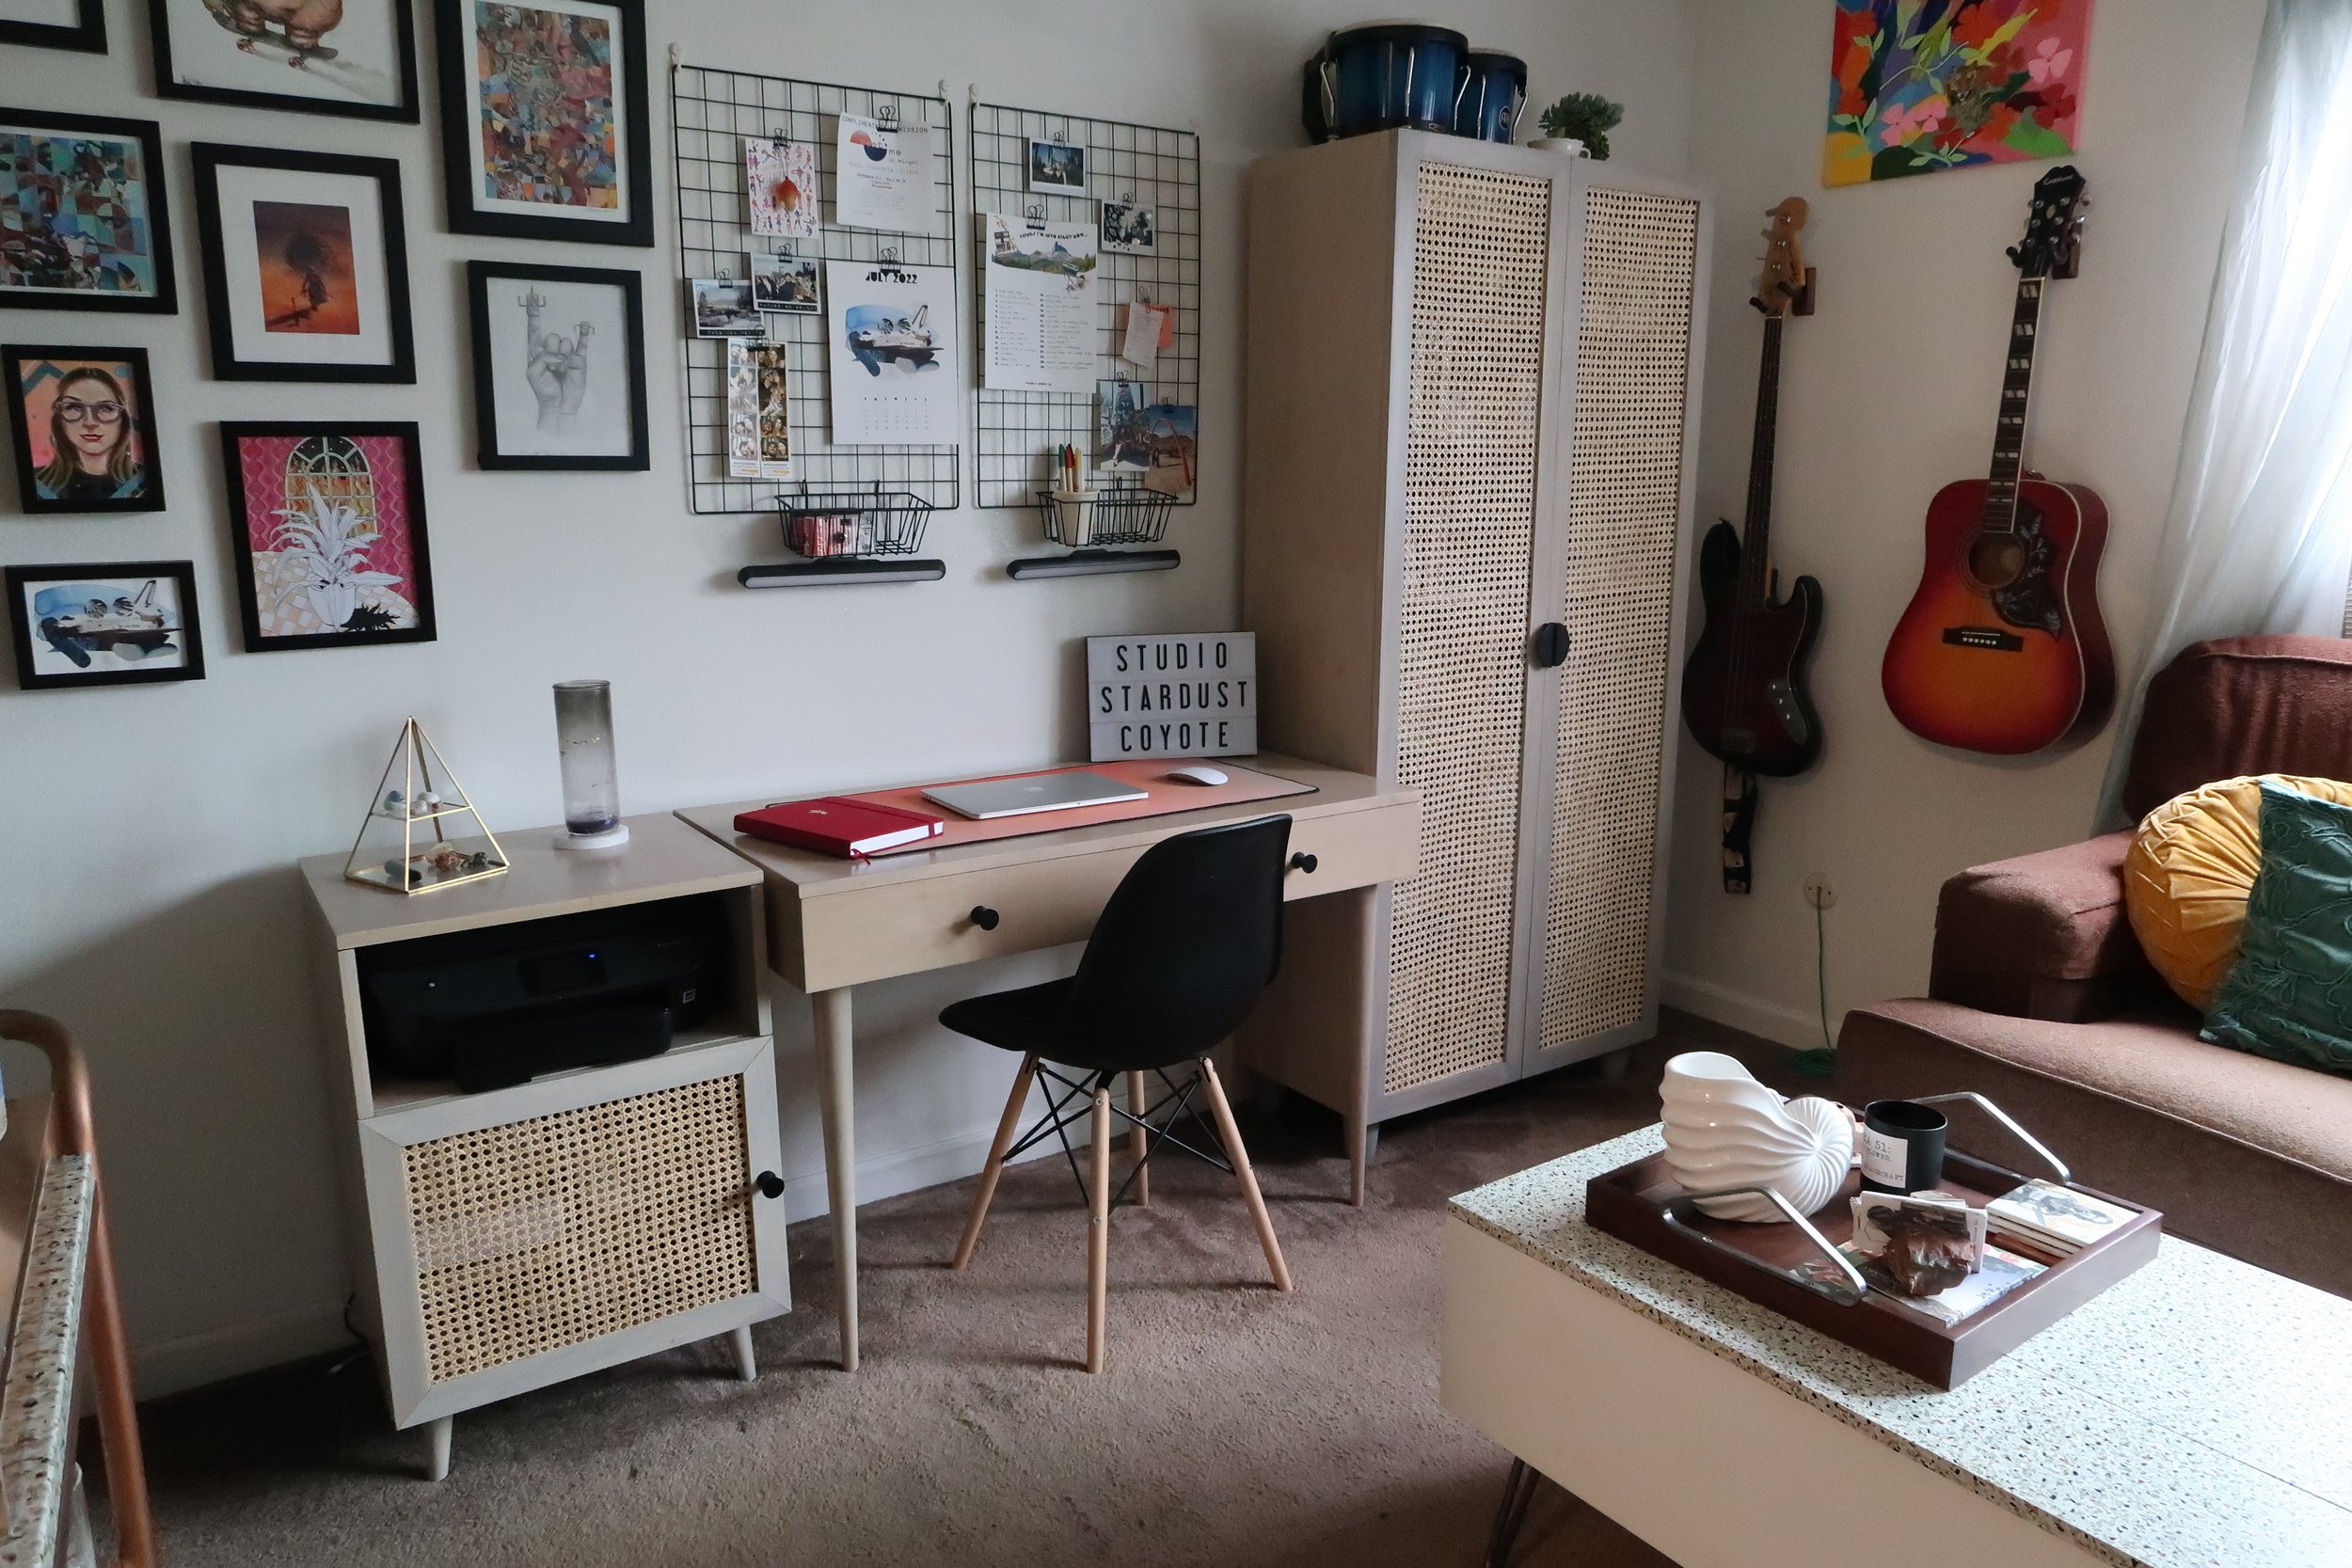
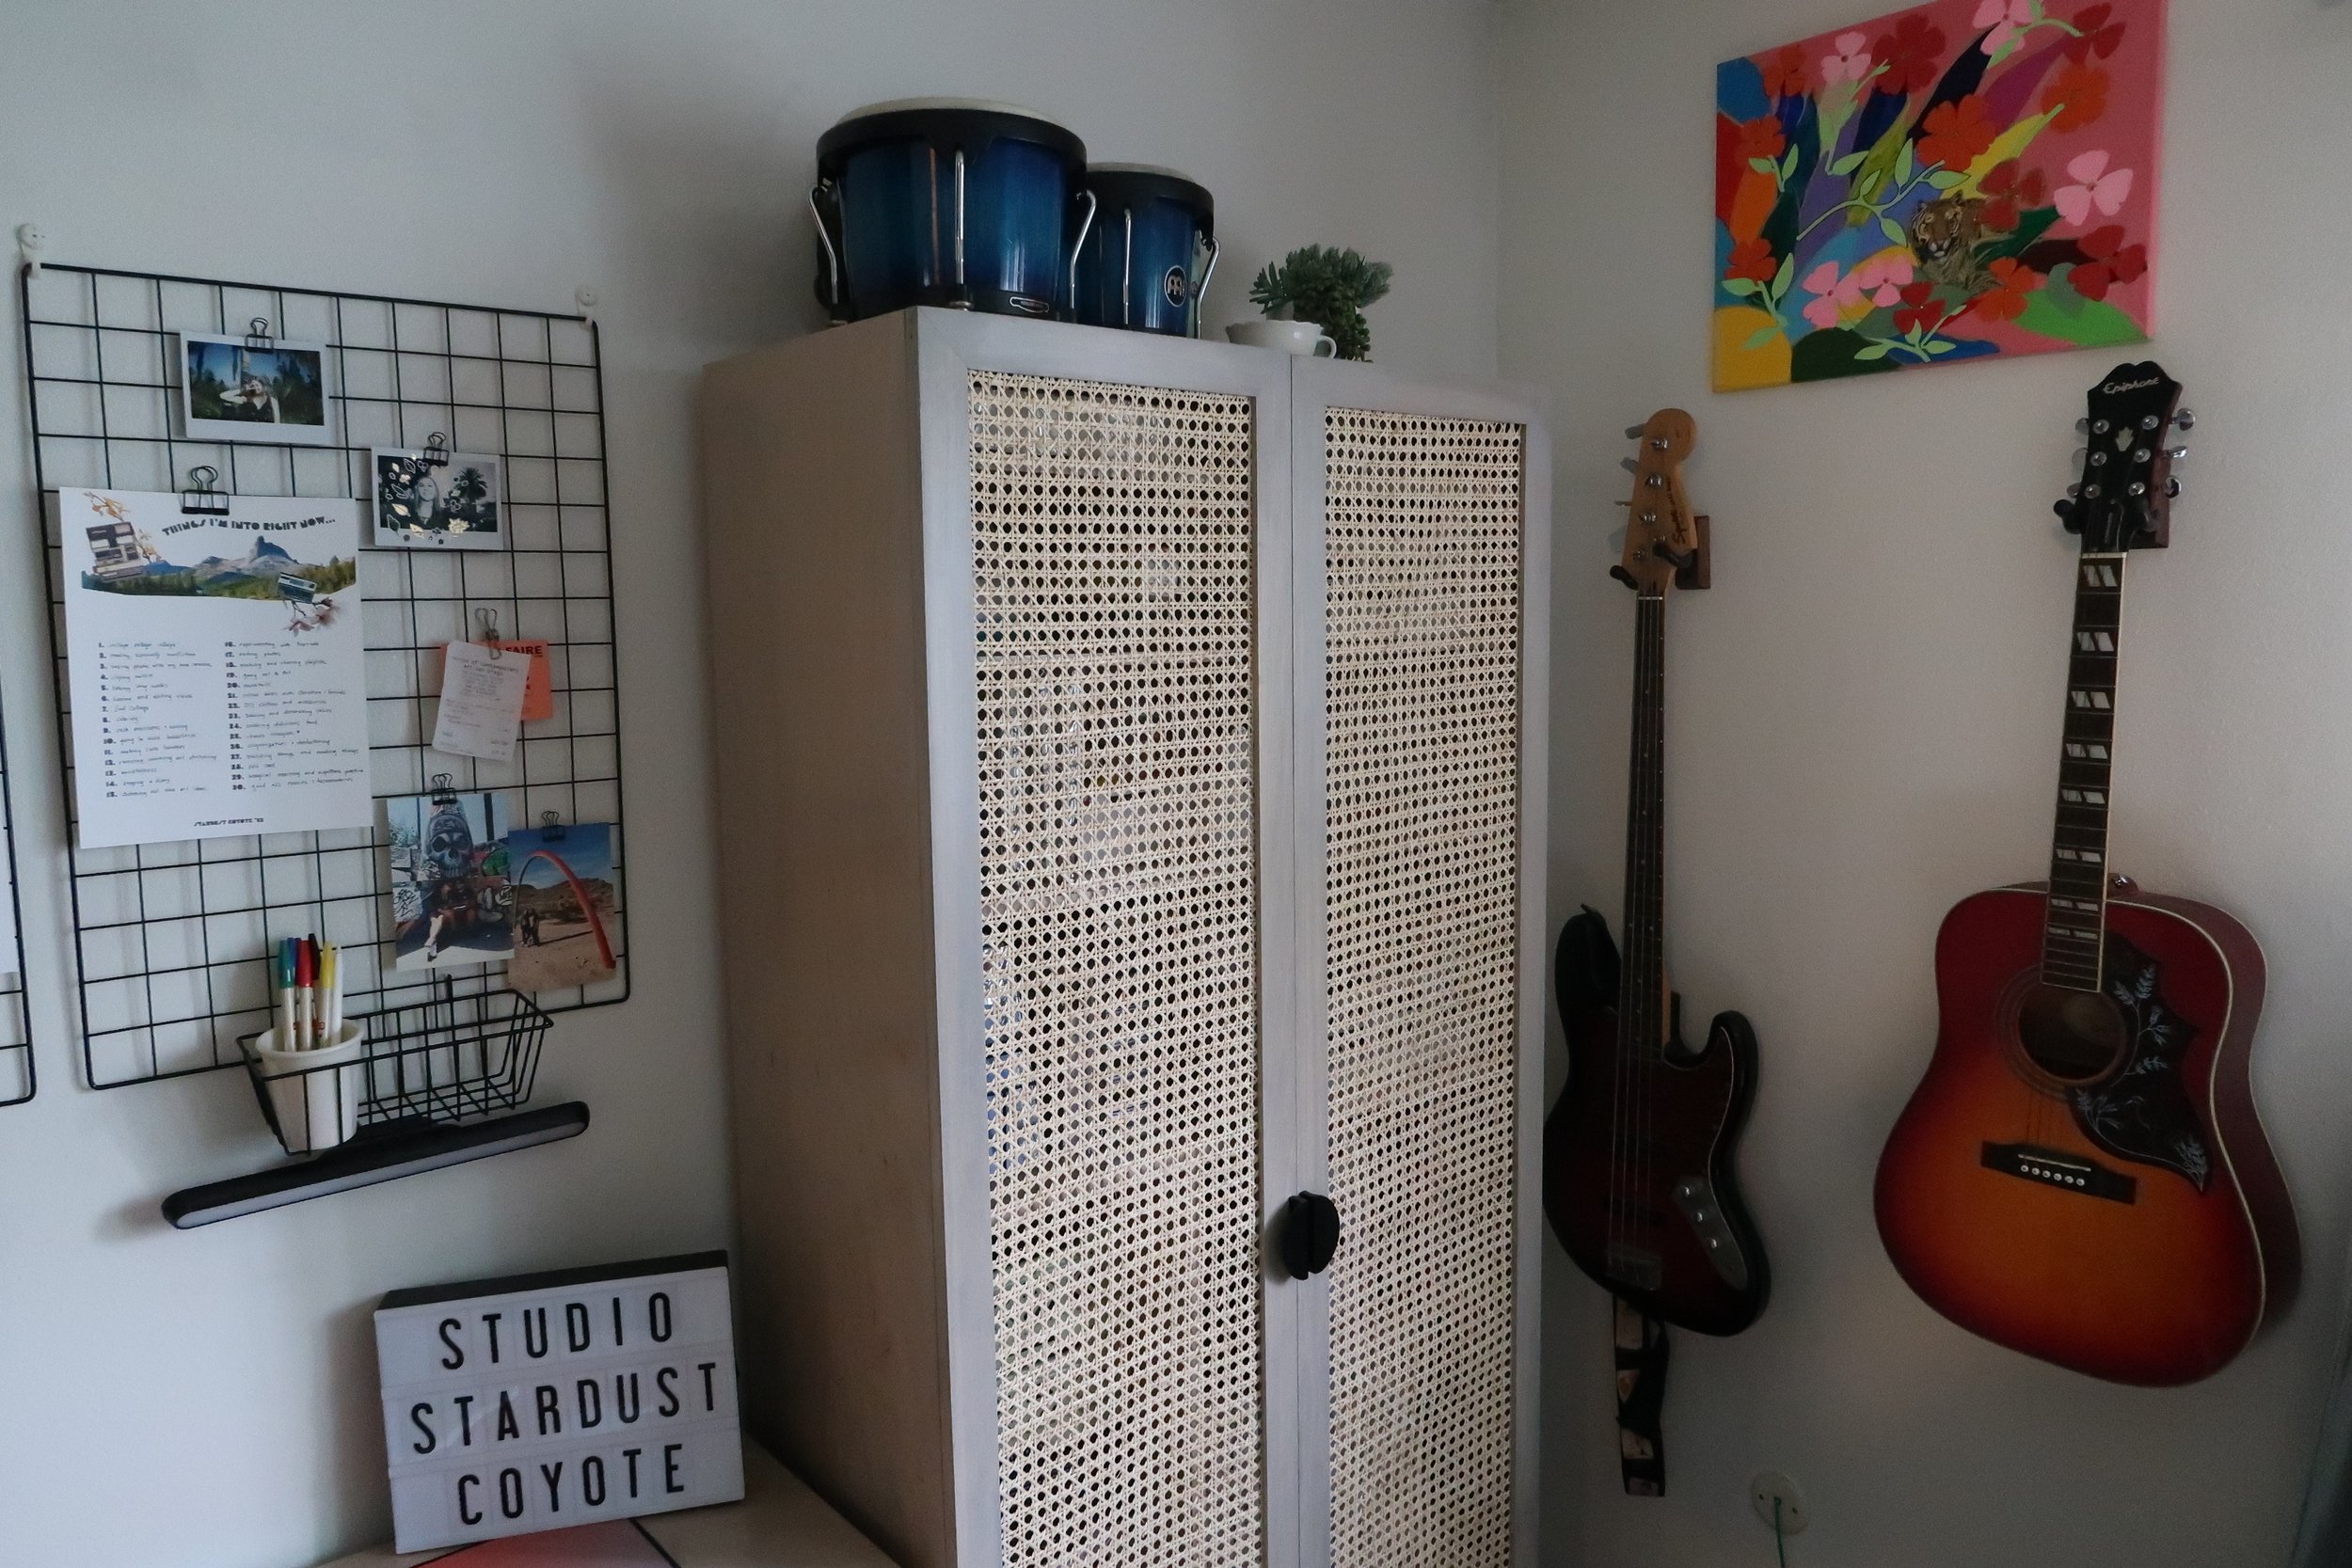
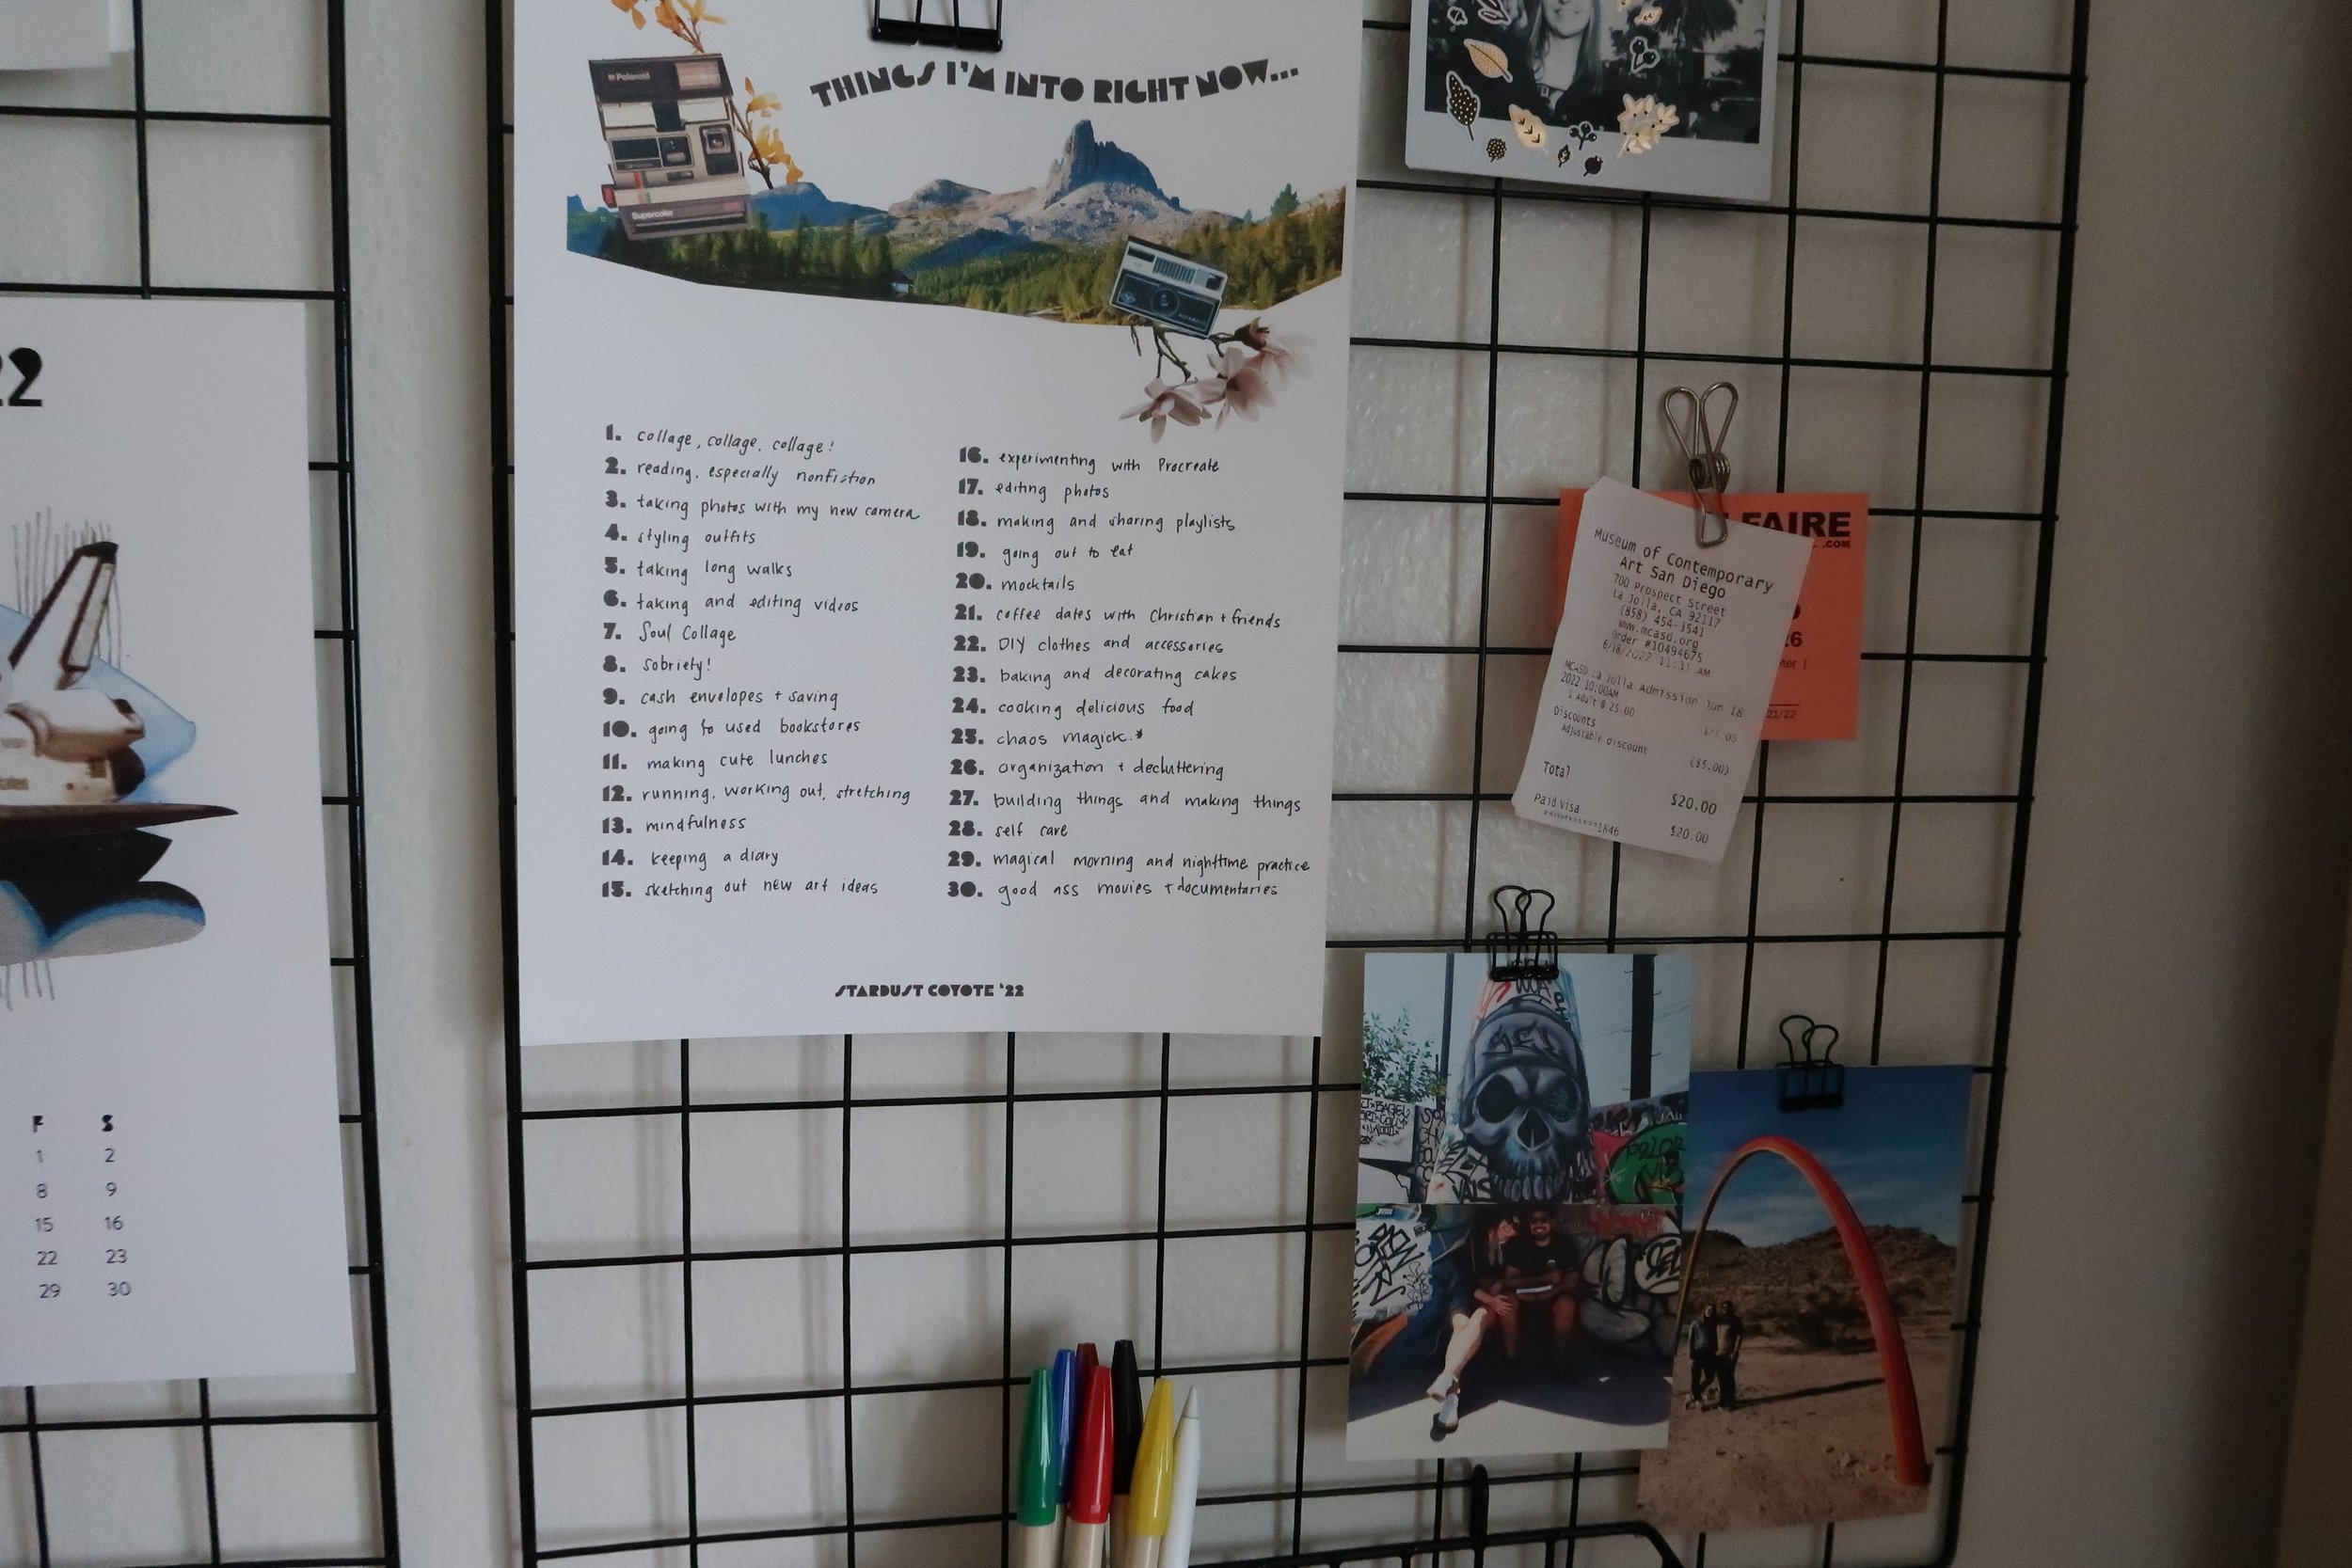
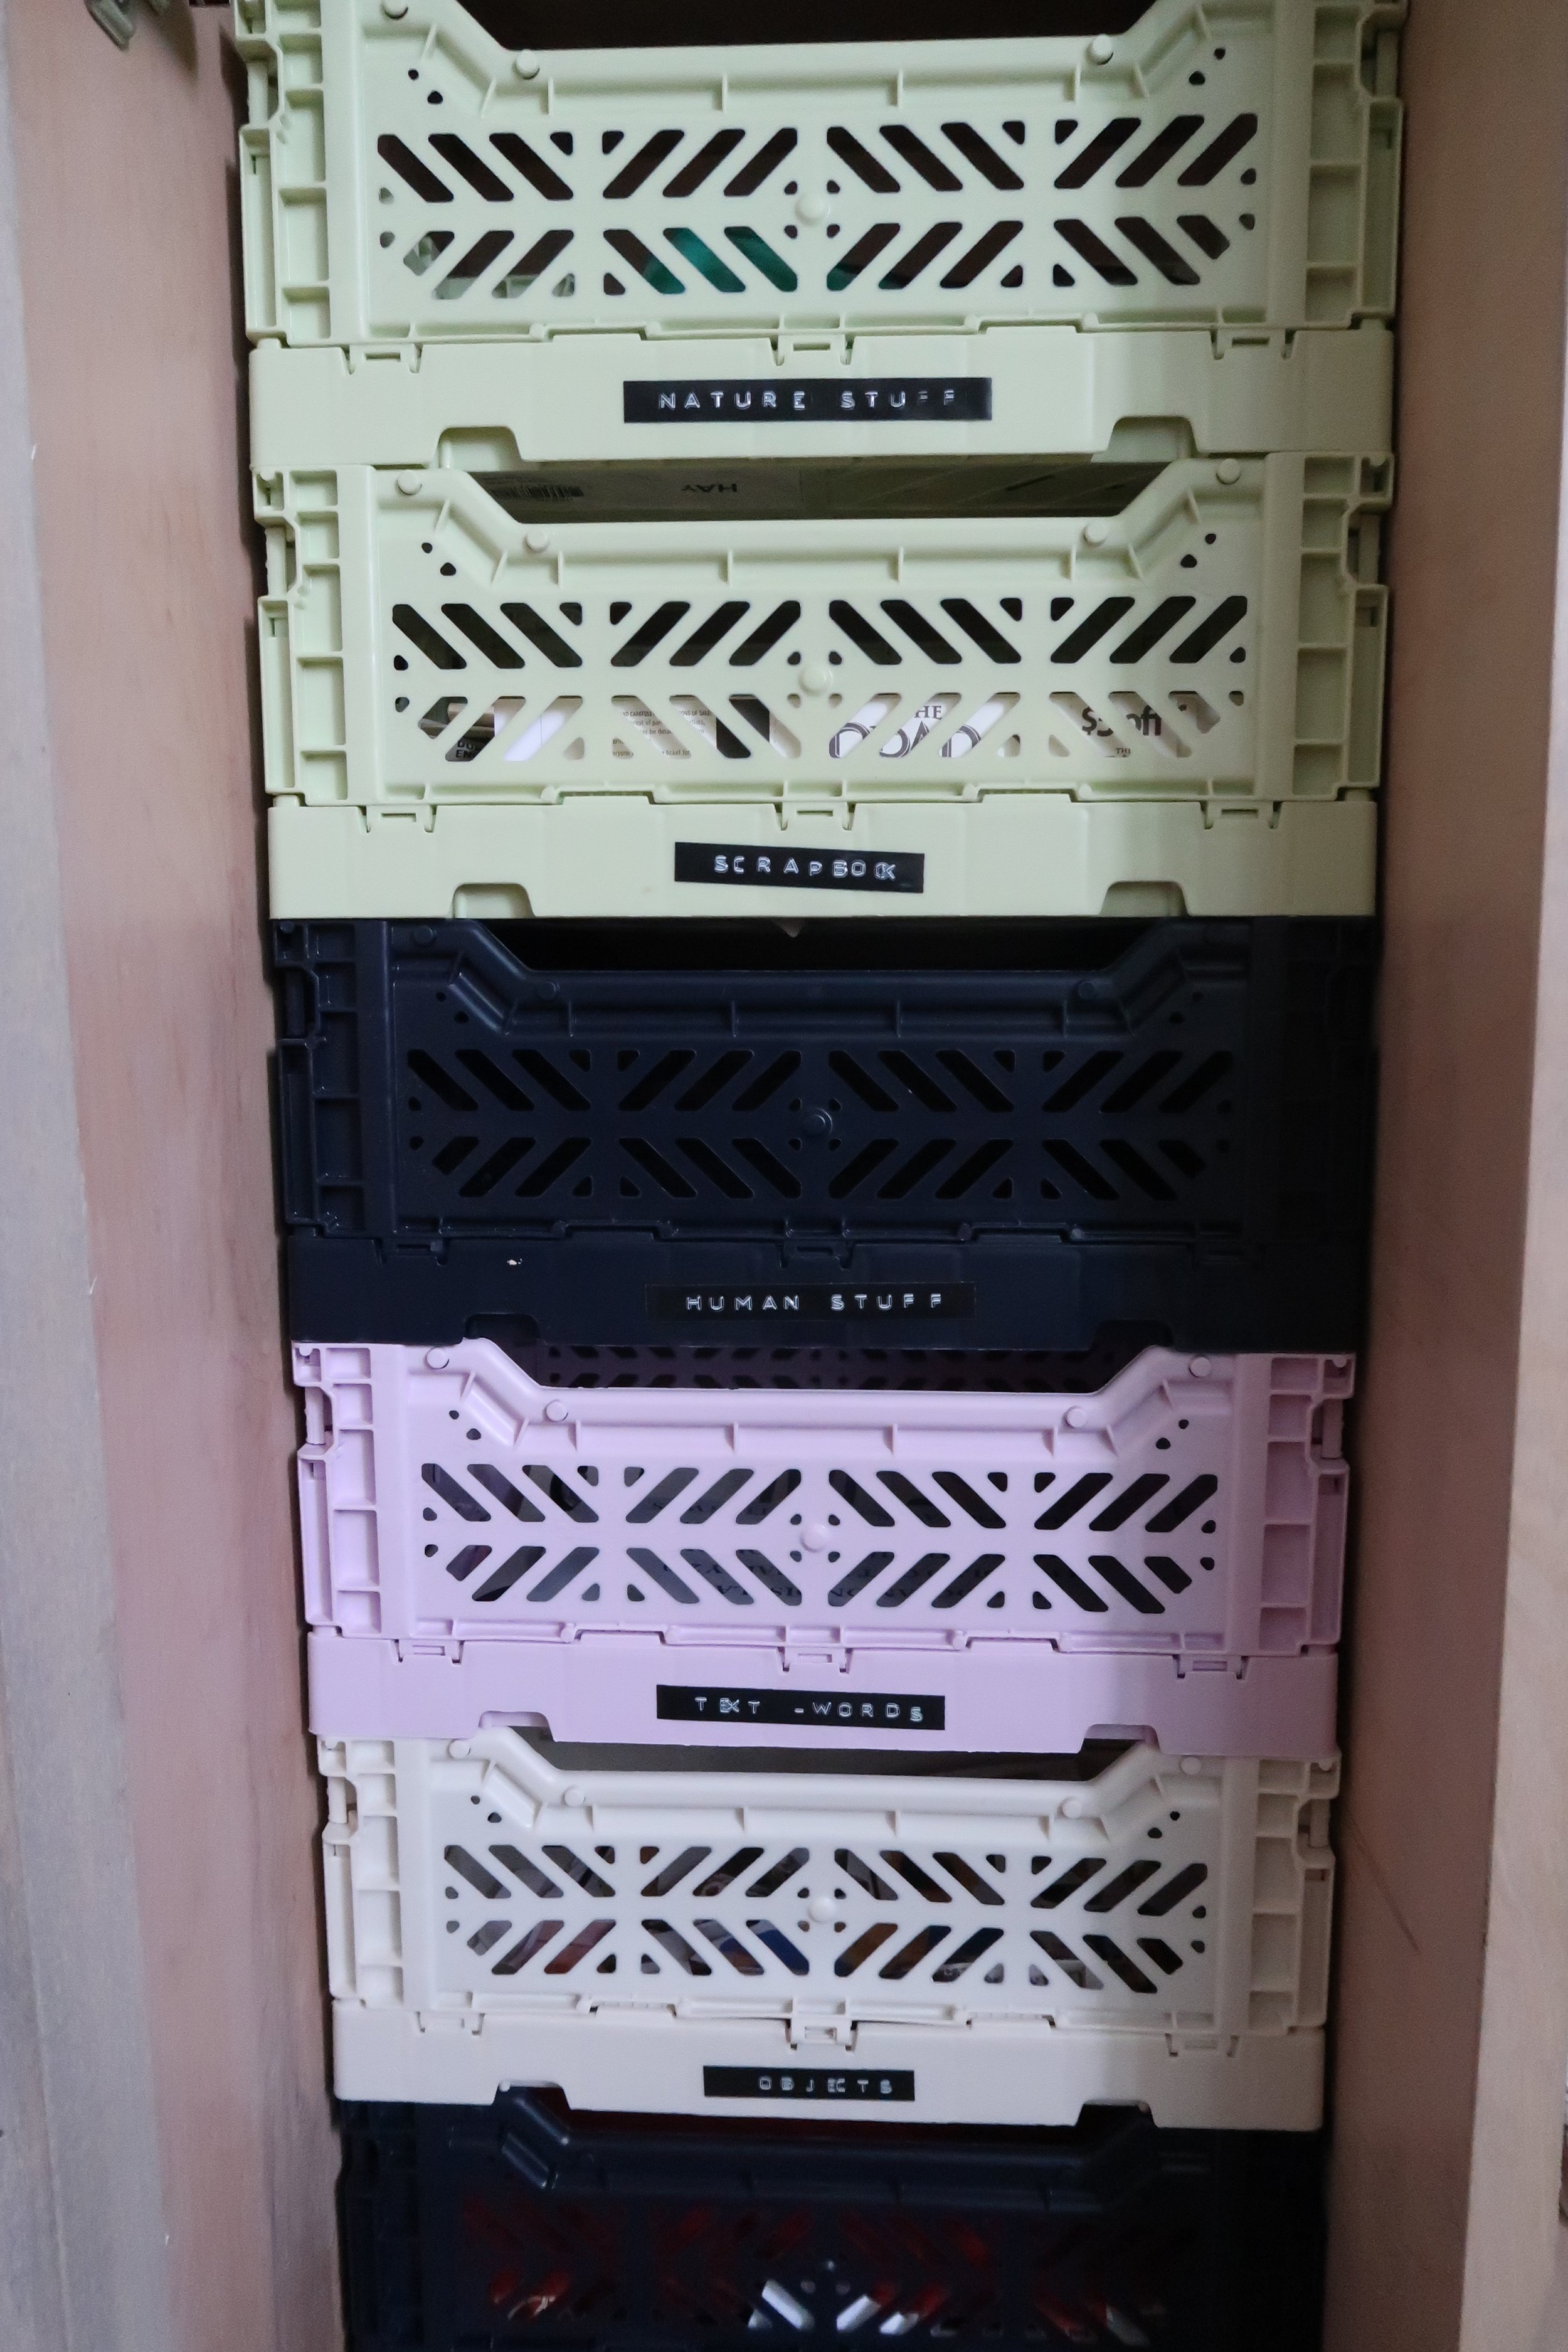
It was so gratifying to finally see all the furniture pieces in my apartment. It was a huge change and a vast improvement from what I had before. It feels so grown up and stylish now. I added a few fun finishing touches like the wall grids for hanging inspiration and scrapbook stuff. I also added light bars so that I can work when it gets dark. I got a great Eames-inspired chair from Overstock.com as well as super cute, colorful milk crate storage boxes from HAY studio. I used them to organize small supplies as well as collage imagery. It’s also great to have a “music corner” in the studio to display my guitar, Christian’s bass, my bongos, and my tambourine. Now I can have a jam sesh whenever I like! We put up the gallery wall last year and I love the way it blends perfectly with the new studio space, highlighting some of my own personal work and that of my favorite artists.
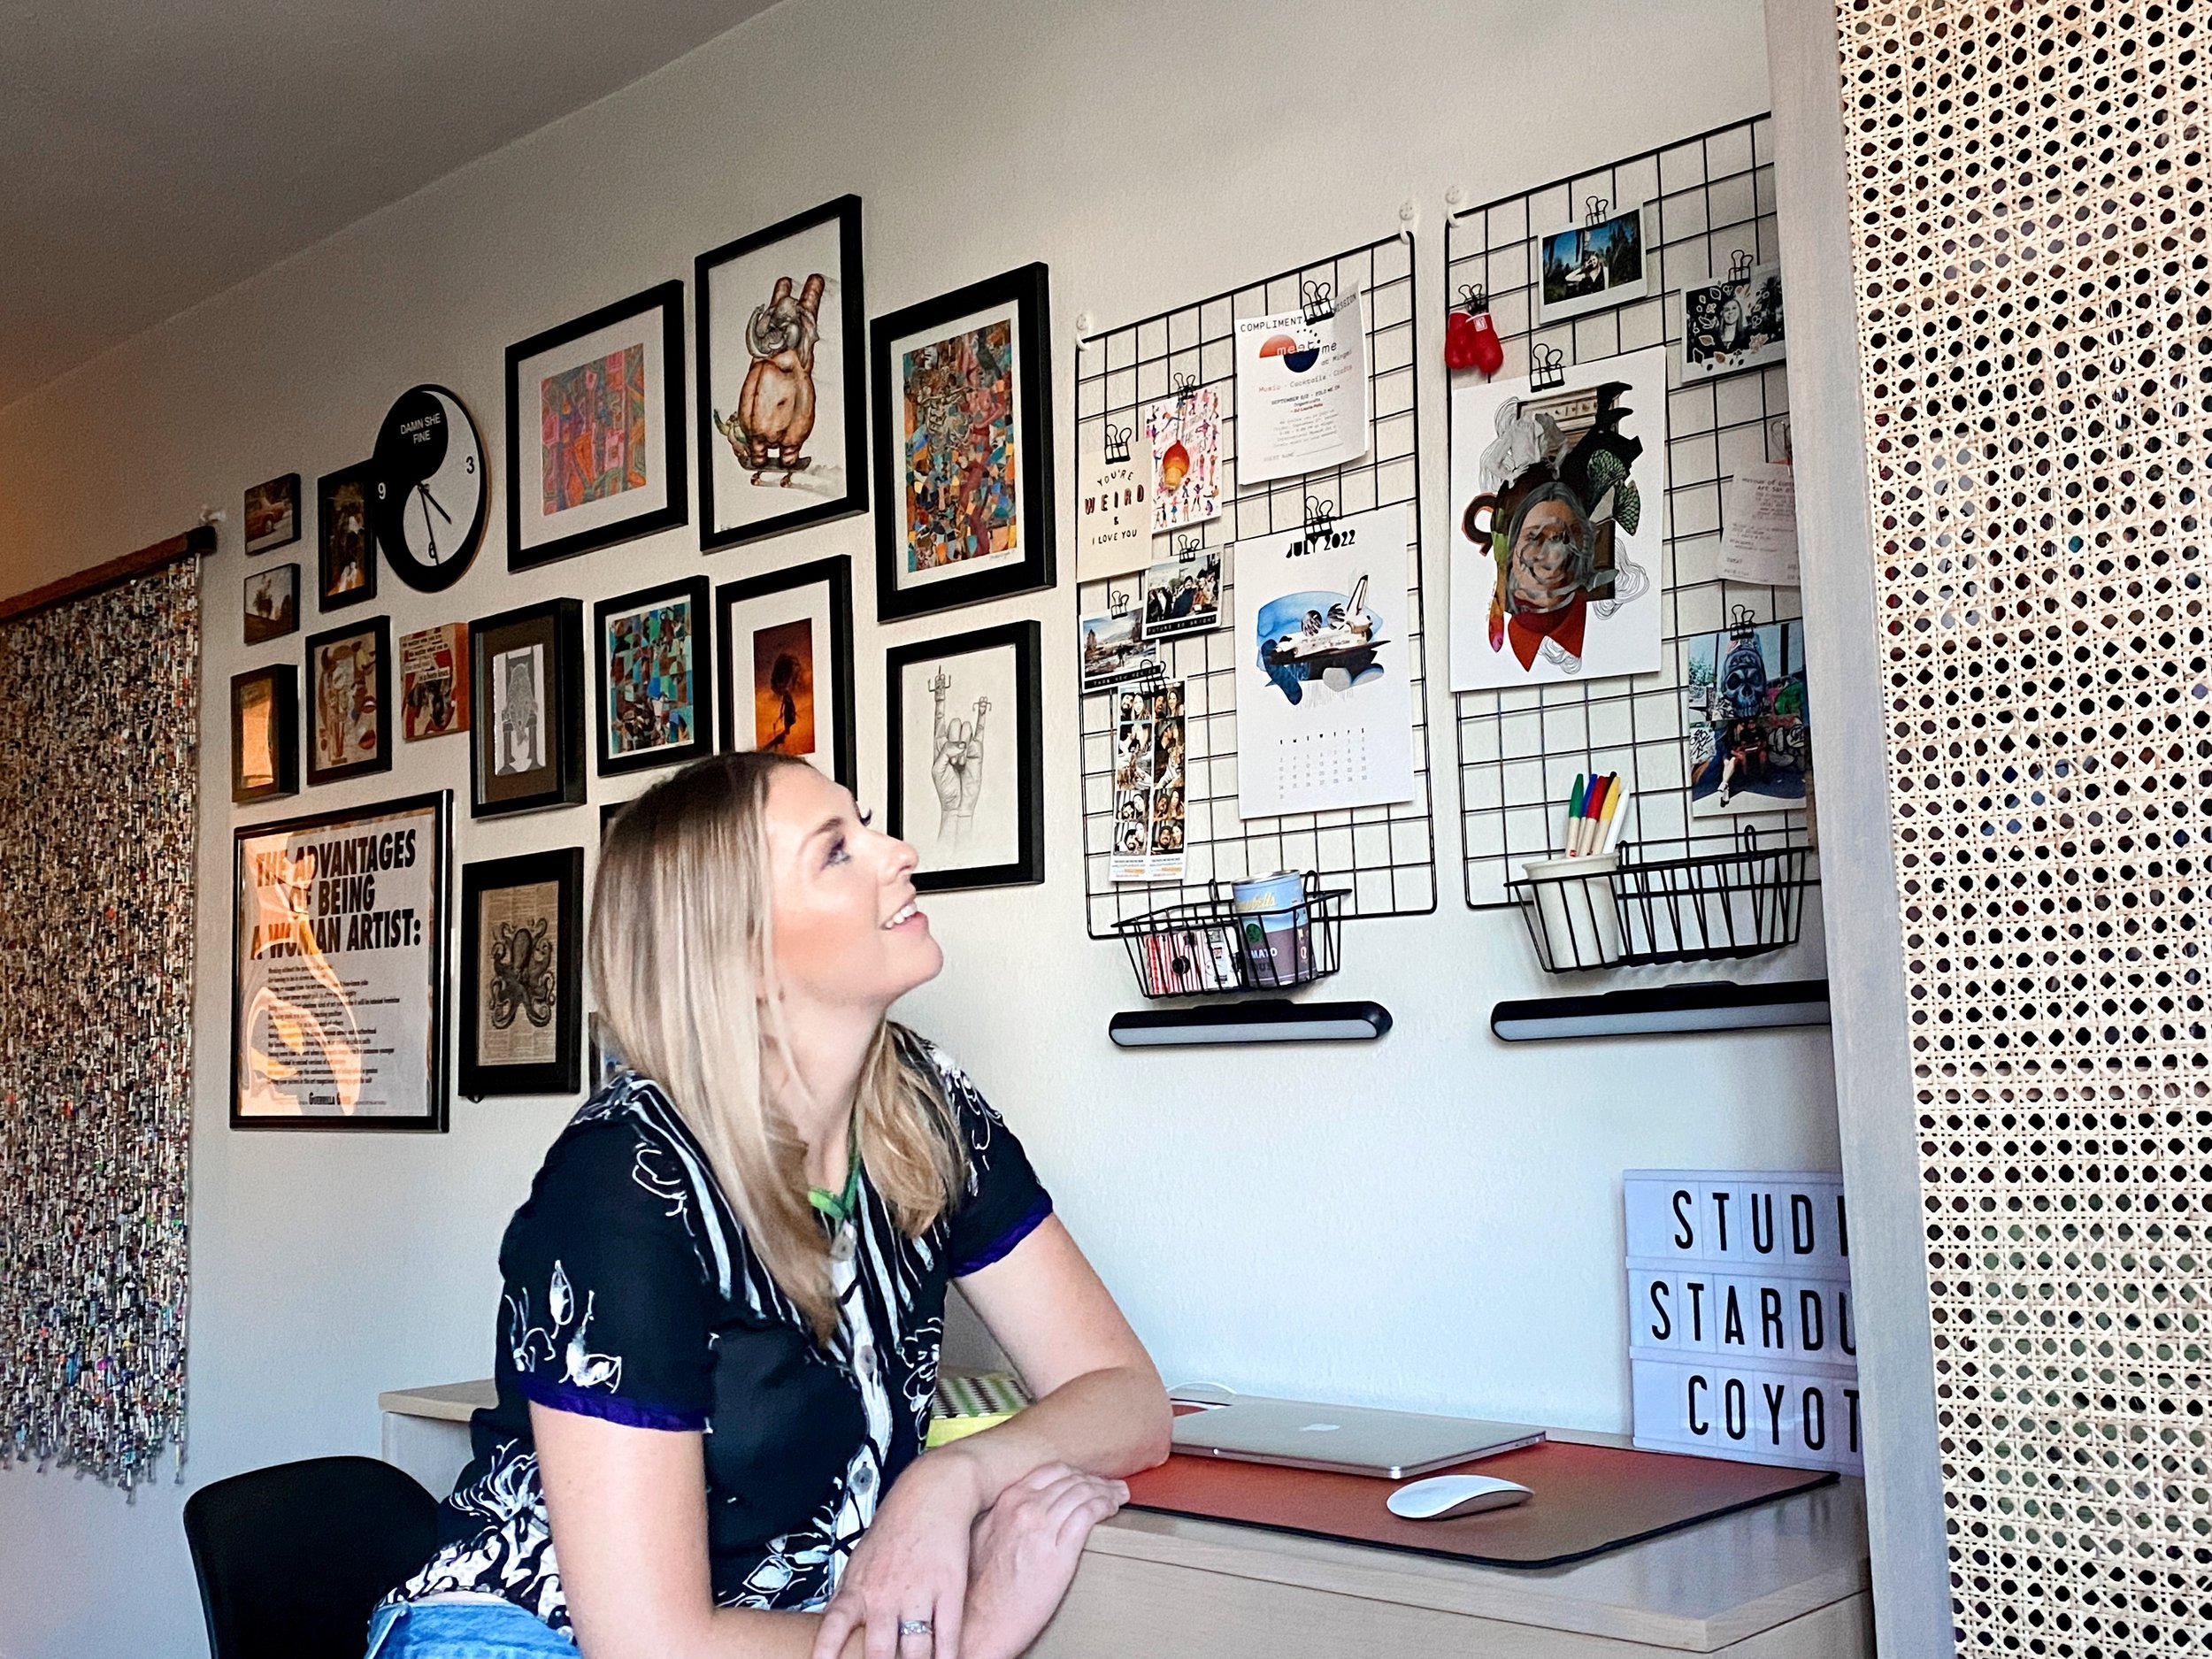
It feels good to have completed this project. It took me and my dad a little over a year to complete. Every time I sit down at my desk, I feel inspired to make new work and that is exactly what I wanted to feel in my studio when I started this project. It looks great in our house, is super functional, and is something totally unique! I can’t thank my parents enough, especially my dad, for giving me the space to turn my crazy ideas into a reality. My dad is a Whiskey Jack of all trades and I appreciated his expertise on this project. He wasn’t content to just throw something together (my usual MO) but really took the time to teach me about precision and how to be more accurate. This has been showing up in my collage work recently.
I’d love to know your thoughts on my project or what you’re creating. Building a life is important to me and I’m sure it is to many others.